June 5, 2026UncategorizedYes, WPBot turns your WordPress real estate website into a 24/7 lead machine. It answers property questions instantly, qualifies buyers and sellers through natural conversations, captures contact details with smart forms, schedules viewings, and hands off hot leads to you — all automatically. No more lost visitors at midnight or weekends. Busy agents finally get qualified leads while they focus on closings.
Real estate websites get traffic, but most visitors bounce without contacting anyone. WPBot fixes that by engaging them right away, like a friendly assistant who never sleeps.
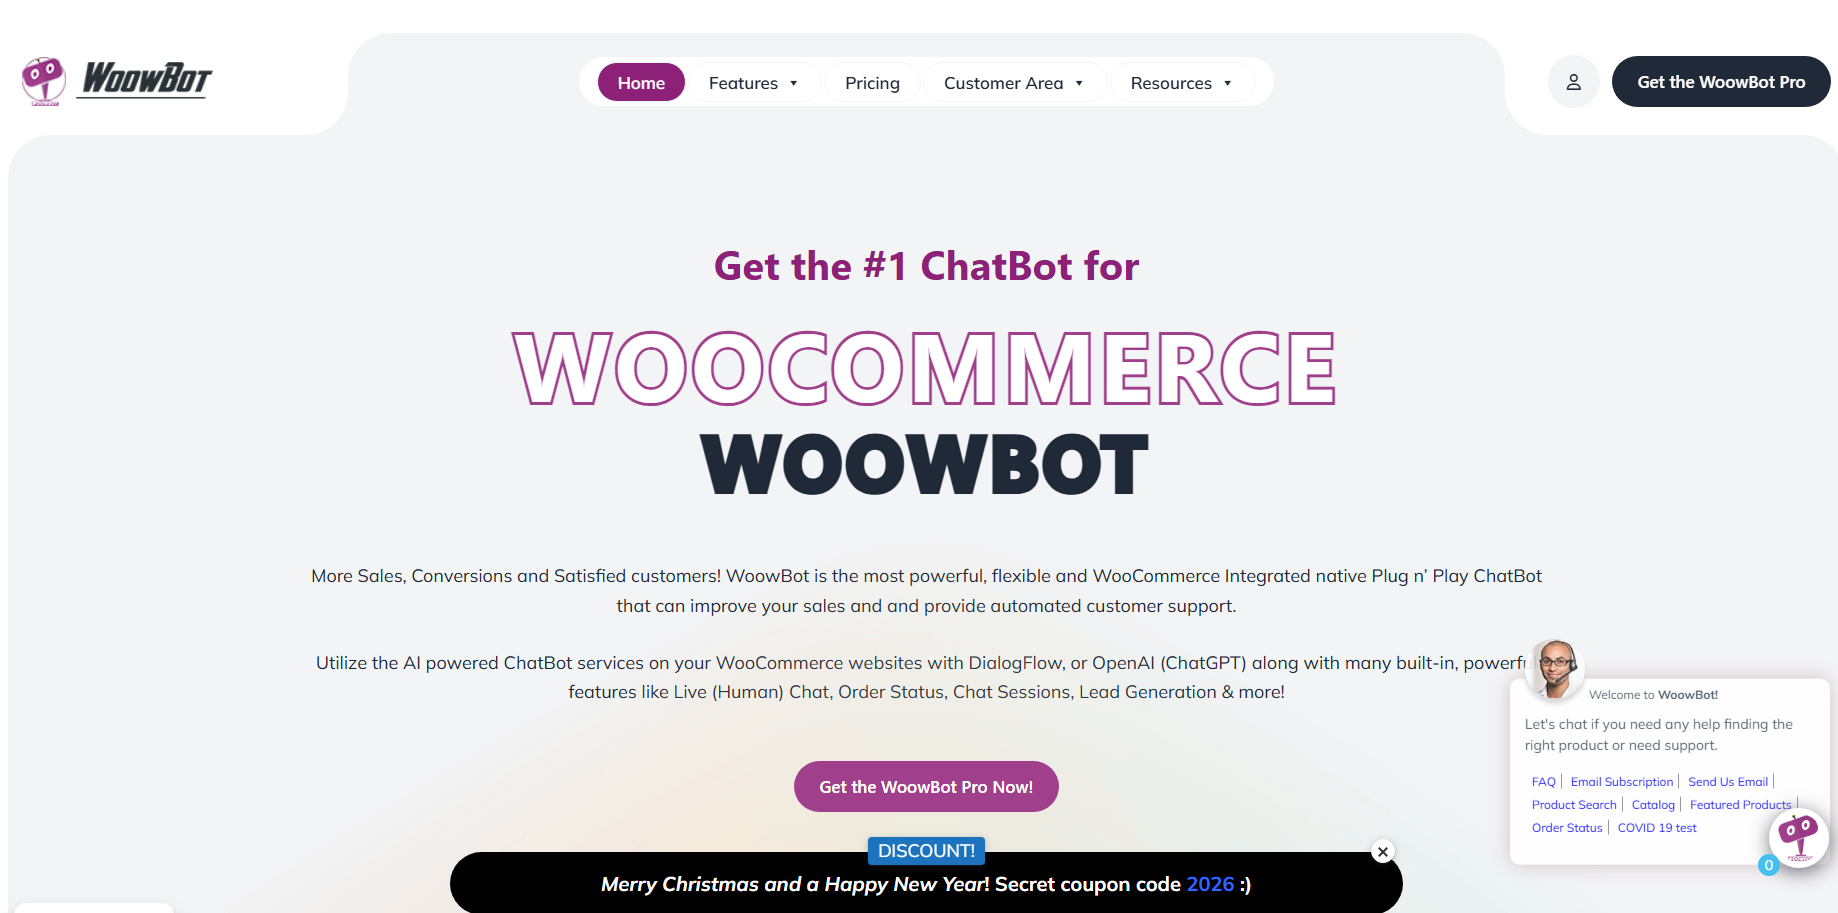
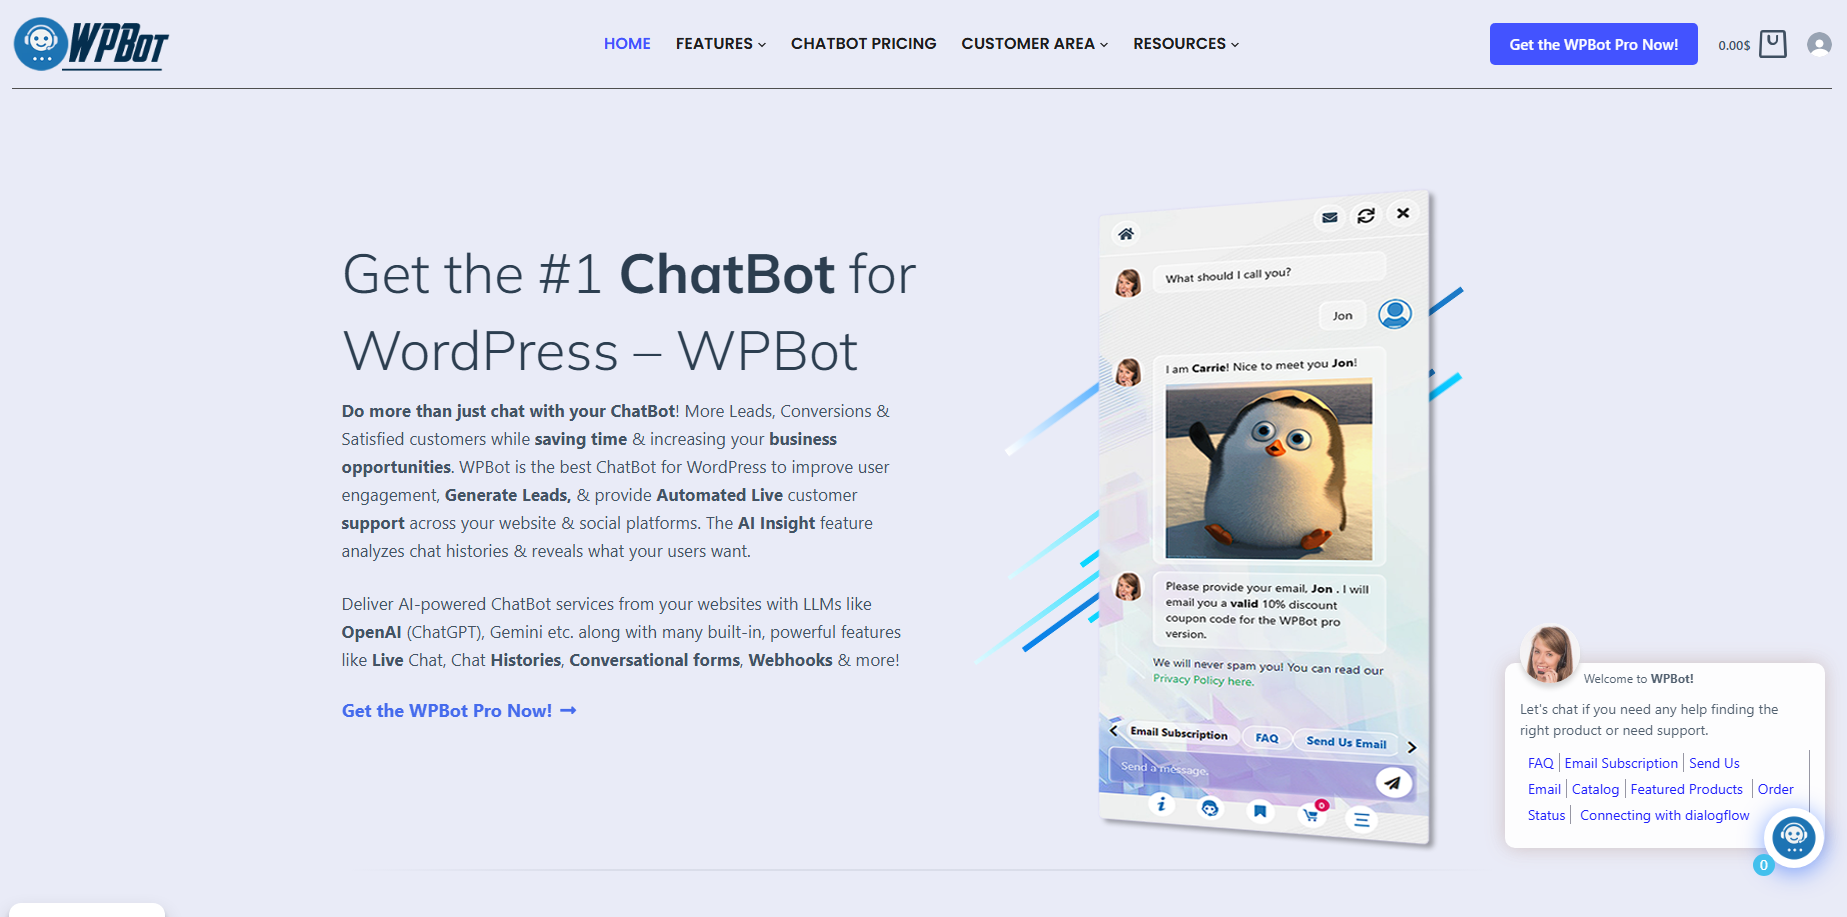
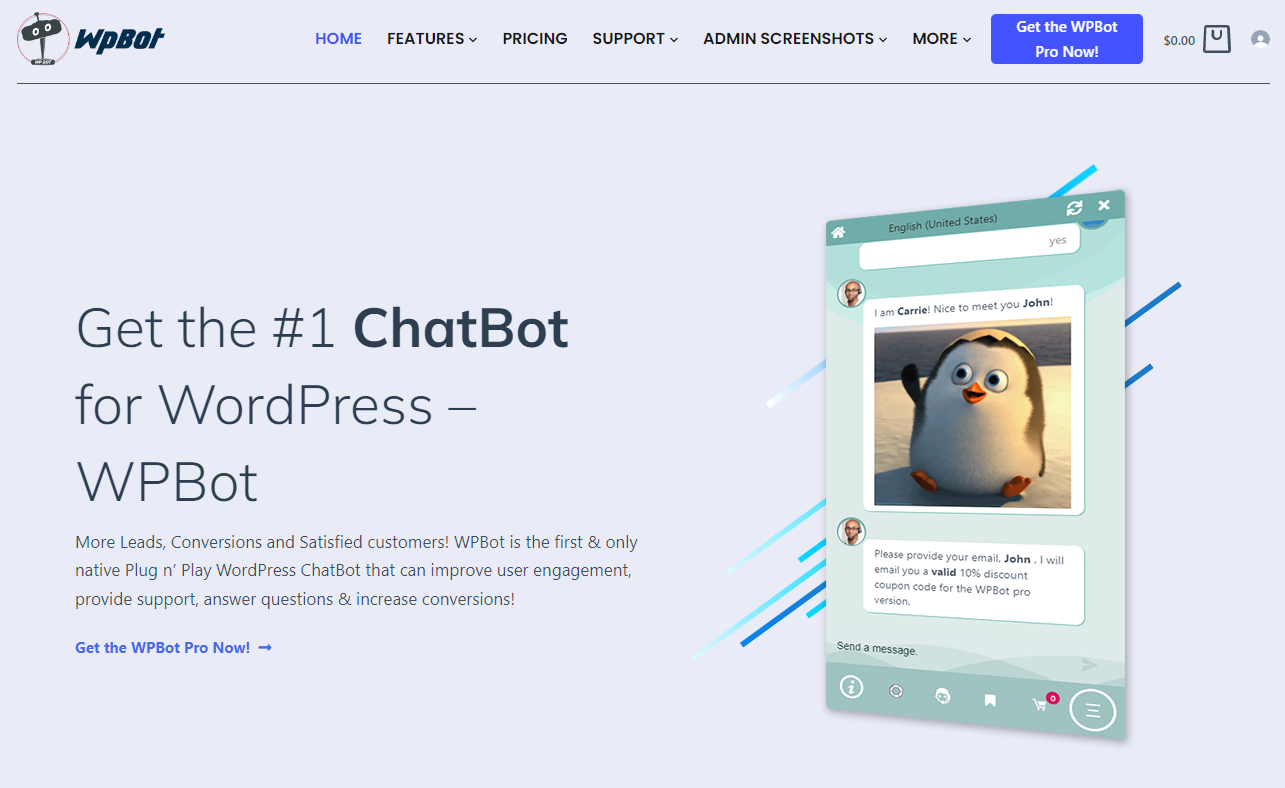
What is WPBot?
WPBot is a native WordPress AI chatbot plugin from QuantumCloud. It installs like any other plugin and runs directly from your dashboard. No third-party platforms or heavy monthly fees for the basics.
You get rule-based responses, site search, FAQ handling, and lead capture out of the box. Connect it to OpenAI (ChatGPT), Google Dialogflow, Gemini, or others for smarter AI conversations. All data stays on your server — full control and better GDPR compliance.
Key for beginners: No coding needed. Install, tweak greetings and a few intents, and it works. Add AI training later if you want.
Why do real estate agents need a chatbot right now?
Your prospects expect instant answers. They browse listings at 10 PM, hit a question, and leave for Zillow or Realtor.com if nothing responds fast.
Chatbots in real estate deliver real results:
Up to 40% higher lead conversion rates.
Handle 80% of routine inquiries automatically.
24/7 availability when you’re showing homes or offline.
Lower support costs — similar tools report up to 30% savings.
Busy scrollers skip long contact forms. They chat. WPBot meets them where they are and turns curiosity into qualified leads.
How does WPBot generate leads automatically?
WPBot doesn’t just answer — it qualifies and captures.
Simple lead flow:
Visitor lands on homepage or listing page.
Bot greets or triggers on scroll/exit intent.
Asks natural questions: “Looking for a 3-bedroom under $400k?” or “Buying or selling?”
Searches your listings in real-time and shows matching options with photos and details.
Uses conversational forms to collect name, email, phone, budget, and preferences.
Books viewings or sends follow-up info.
Saves data in your WordPress database or pushes to CRM via Zapier/webhooks.
Punchy benefits for agents:
Qualifies leads — Only hot prospects hit your inbox.
Never misses after-hours inquiries.
Personalizes — Remembers details across sessions.
Retargets — Exit-intent offers recover abandoning visitors (up to 25% response in
Real estate use cases that actually work
Property Matching and Recommendations
Visitor: “Family home near good schools under $500k.” WPBot searches your site, shows relevant listings with images, prices, and “Book Viewing” buttons. No more manual searches.
Virtual Tours and Property Details
Shares Matterport links, floor plans, videos. Answers specifics: square footage, taxes, HOA fees, neighborhood stats, comps.
Seller Lead Capture
For “I want to sell my house”: Guides through valuation questions, captures details, books appraisal calls.
Financing and Loan Guidance
Explains mortgage basics, connects to affordability calculators, qualifies for pre-approvals.
Appointment Booking
Integrates with calendars. “Available Saturday at 11 for this property?” Confirmed instantly.
Pro tip: Use conditional conversational forms. Ask budget first, then bedrooms, location — show only relevant options. This keeps conversations short and relevant for scrollers.
Setting up WPBot on your real estate site (step-by-step for beginners)
Install the free version from WordPress.org or go Pro.
Activate and open WPBot settings.
Set greeting: “Hi! Looking for your dream home? Tell me what you need.”
Build key intents: Common questions with answers or site search triggers.
Add Conversational Forms Pro for lead capture (drag-and-drop, conditional logic).
Connect OpenAI if wanted — train on your listings and FAQs (takes under 10-30 minutes).
Set triggers: Auto-open on first visit, exit-intent, page-specific on listings.
Style to match your branding (colors, avatar).
Test on mobile and desktop, then launch.
Time: Under 30 minutes for basics. A few hours for polished flows.
Powerful features real estate pros love
Site Search + AI Hybrid — Falls back to your WordPress content.
Conversational Forms — Drag-and-drop with conditional fields, calculators, database storage, CSV export, auto-responder emails.
Retargeting & Exit Intent — Onsite offers and abandoned visitor recovery.
Live Chat Handover — Bot handles basics, escalates to you via dashboard or Slack.
Multilingual Support — Serve international buyers.
Omnichannel Add-ons — WhatsApp, Messenger, Telegram.
AI Insights — Daily digest of chats highlights what users want.
White Label (Master plan) — Perfect for agencies.
These features work together. Your site stays active even when you’re not.
WPBot pricing: Pay once, own it
Free — Solid basics for FAQs, simple capture, site search.
Pro plans — Start low (around $39–$99/year depending on tier) with full AI, forms, retargeting.
Lifetime options — Available for bigger savings. No usage limits on conversations.
Compare to SaaS tools charging $50–$800+/month with your data on their servers. WPBot keeps everything on yours and costs a fraction long-term.
WPBot vs other real estate chatbot options
WPBot shines for WordPress users:
Native integration (no embed issues).
Full data ownership.
Lifetime pricing available.
Deep site search and conditional forms.
Other tools like Tidio, ManyChat, or specialized ones (Roof AI, Ylopo) work well but often mean recurring fees and external data storage. WPBot wins for control and cost.
Success tips from real users and setups
Start simple: FAQs + search + one strong lead form.
Add rich media: Property images, YouTube tours.
Train AI on your specific listings and local market knowledge.
Check AI Insights weekly to improve responses.
Use triggers and A/B test greetings.
Combine with IDX/MLS via links or custom posts.
Agencies: White label for client sites.
Monitor leads captured, conversation rates, bounce reduction, and time saved.
Common questions real estate visitors ask (pre-build these)
Price ranges and availability in specific areas.
School districts, neighborhoods, amenities.
Photos, videos, 3D tours.
Financing options and closing costs.
Market trends and comparable sales.
How to book a viewing or consultation.
Seller services and valuation.
WPBot handles these instantly, qualifying while answering.
Potential challenges and easy fixes
Challenge: Bot gives generic or wrong answers. Fix: Use precise intents, site search fallback, and regular AI training.
Challenge: Visitors ignore the widget. Fix: Strong first message, matching branding, smart triggers (scroll/exit).
Challenge: Privacy concerns. Fix: Data stays on your server; add clear notice.
Pro move: Test free version first, prove ROI with a few leads, then upgrade.
Measuring your results
Track these metrics:
Number of leads captured (emails/phones).
Conversation completion rates.
Bounce rate reduction.
Time saved on repetitive questions.
Chat-to-viewing or chat-to-offer conversions.
Overall ROI — one extra closed deal usually covers costs many times over.
Export form entries and review histories easily in WordPress.
FAQs about WPBot for Real Estate
Is WPBot free to start? Yes. The core plugin gives you strong basics for lead gen.
Does it integrate with MLS/IDX? Indirectly — link listings or use custom posts. Capture intent via forms and follow up manually or via CRM.
Can it book appointments? Yes, through conversational forms or calendar links.
Does it work on mobile? Fully responsive.
Is AI required? No. Run on rules and site search first, add AI anytime.
How secure is lead data? Stored on your server. Export or integrate securely.
Can I use it on multiple sites? Yes, depending on license (Master for agencies/white label).
Will it replace my team? No — it handles routine stuff so your team focuses on high-value closings.
Conclusion
WPBot turns your real estate WordPress site into a nonstop lead generator. It answers questions, qualifies prospects, captures details, and books viewings automatically — even while you sleep or show properties.
Stop losing visitors who just need a quick chat. Install WPBot today (start free), set up key flows for your listings, and watch qualified leads fill your pipeline 24/7.
Your next closed deal might start with a simple “Hi” from the bot tonight. Give it a try — your future clients are already browsing. [...]