Introduction
- Item Name : Slider Hero
- Item Version : v 3.5.0
- Author : QuantumCloud
First of all, Thank you so much for purchasing this template and for being my loyal customer.
You are awesome!
You are entitled to get free lifetime updates to this product + exceptional support from the author directly.
Slider Hero is a responsive HERO SLIDER plugin that kets you create animated banners with awesome Javascript animation effects easily. Slider Hero can also be used to create Javascript animated banners, HERO Banner or HERO Text Slider.
This documentation is to help you to create & manage slider. Please go through the documentation carefully to understand how to create, edit & manage a slider properly.
Features
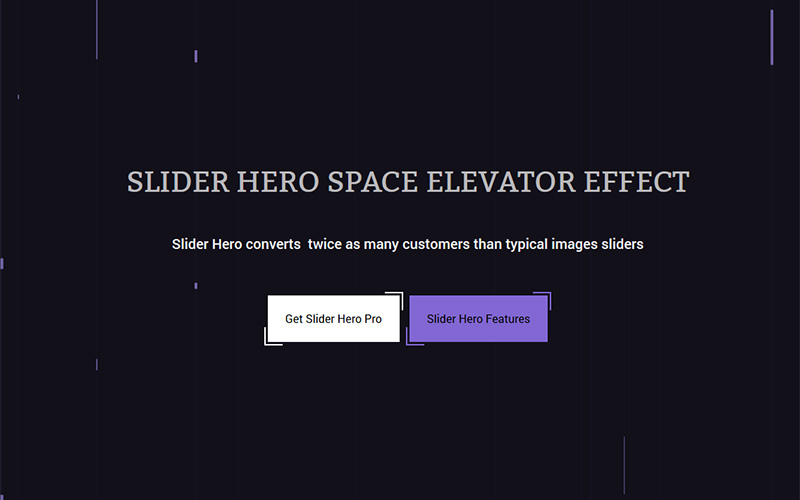
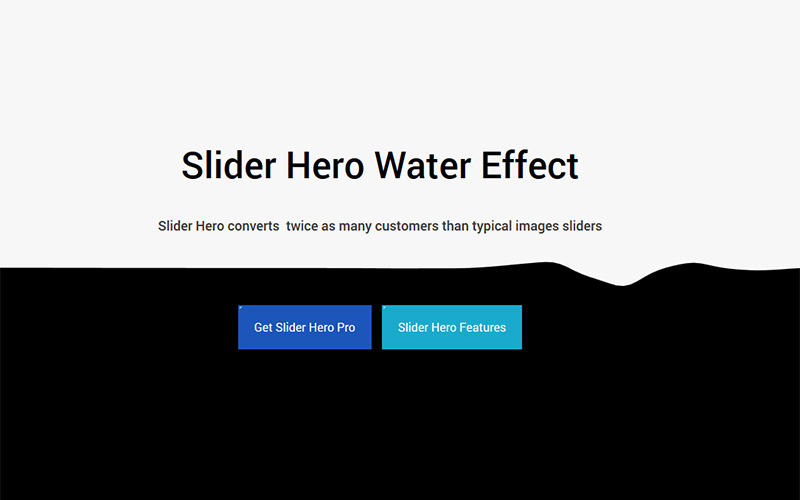
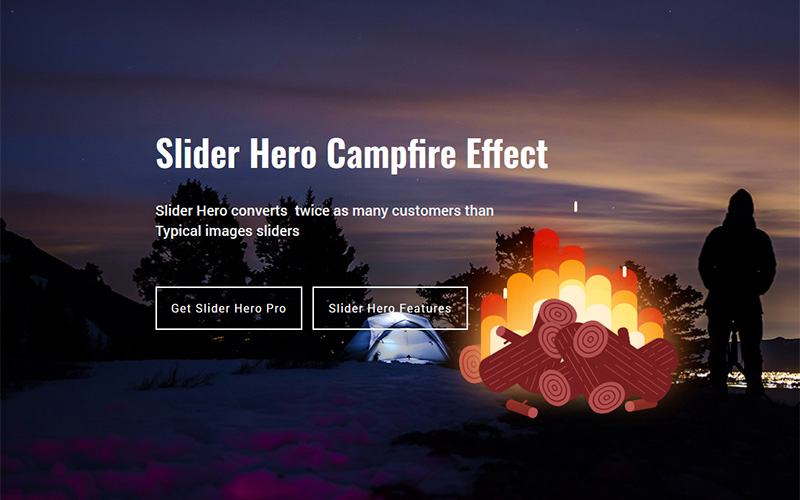
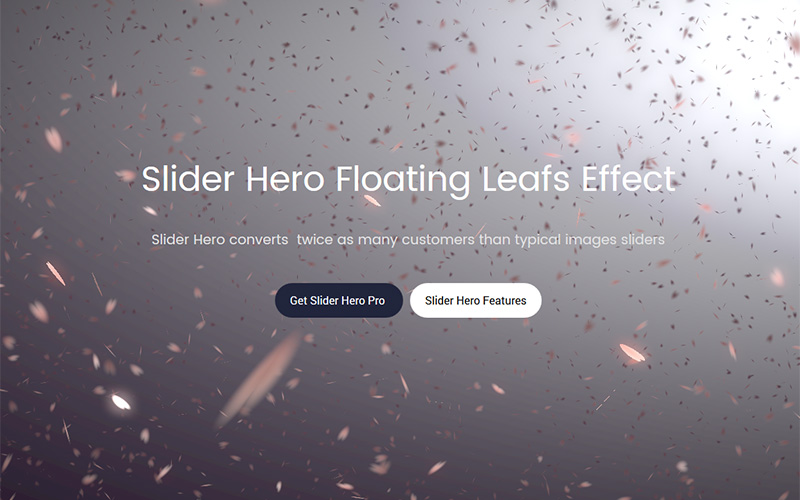
- Create A Slide with 70+ custom background effects.
- Drag and Drop Slide Management
- Unlimited Text Slide
- Title & Description Animation
- Awesome Button creation panel with 6+ button effect.
- Full Responsive
- 800+ Google fonts with variant.
- Unlimited Image Slide with transition effect.
Installation #back to top
You can install "Slider Hero" plugin by following some simple and easy steps.
From your WordPress dashboard:
- Visit 'Plugins > Add New'
- Click on 'Upload'
- Click on 'Browse' button and then select 'slider-hero.zip' from file upload window
- Then click 'Install Now' button. The plugin will be installed within some moments.
- Then click 'Activate Plugin' link to activate the installed 'Slider Hero' plugin.
Manual Installation:
- 'Upload / Copy' 'slider-hero.zip' file to your 'wp-content\plugins' folder
- Unzip the 'slider-hero.zip' file
- Visit 'Plugins -> Installed Plugins' from your site dashboard
- Find 'Slider Hero Pro' in the plugins list, and activate it by clicking on 'Activate' link
HOW TO UPGRADE FROM FREE VERSION
Follow the upgrade section below if you want to upgrade your plugin from free version to premium version Or, upgrading from an older Pro Version of the plugin.
To upgrade your "slider hero" plugin from FREE version to Pro version OR from Older Pro Version please follow the below steps:
- Download the latest pro version of the plugin from website
- Log in to your WordPress admin area and go to the Plugins management page.
- Deactivate and Delete the Old Pro/Free version of the plugin (don’t worry – your data is safe)
- Upload and Activate the latest pro version of the plugin
- You are done.
Getting Started #back to top
How to Create Modern Sliders with Slider Hero WordPress Plugin
How to Create Product Intro Advert with Slider Hero WordPress Plugin
After installing 'Slider Hero' plugin, you can manage your Slider as below -
Create A Slider
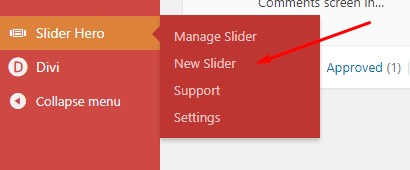
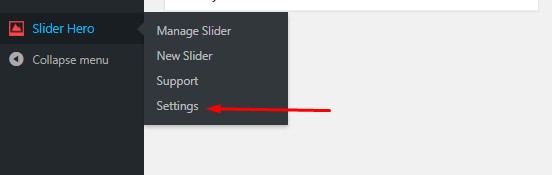
- After Installing the plguin, you can create your new slider from 'Slider Hero' --> 'New Slider'
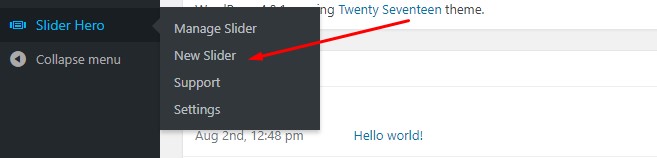
-
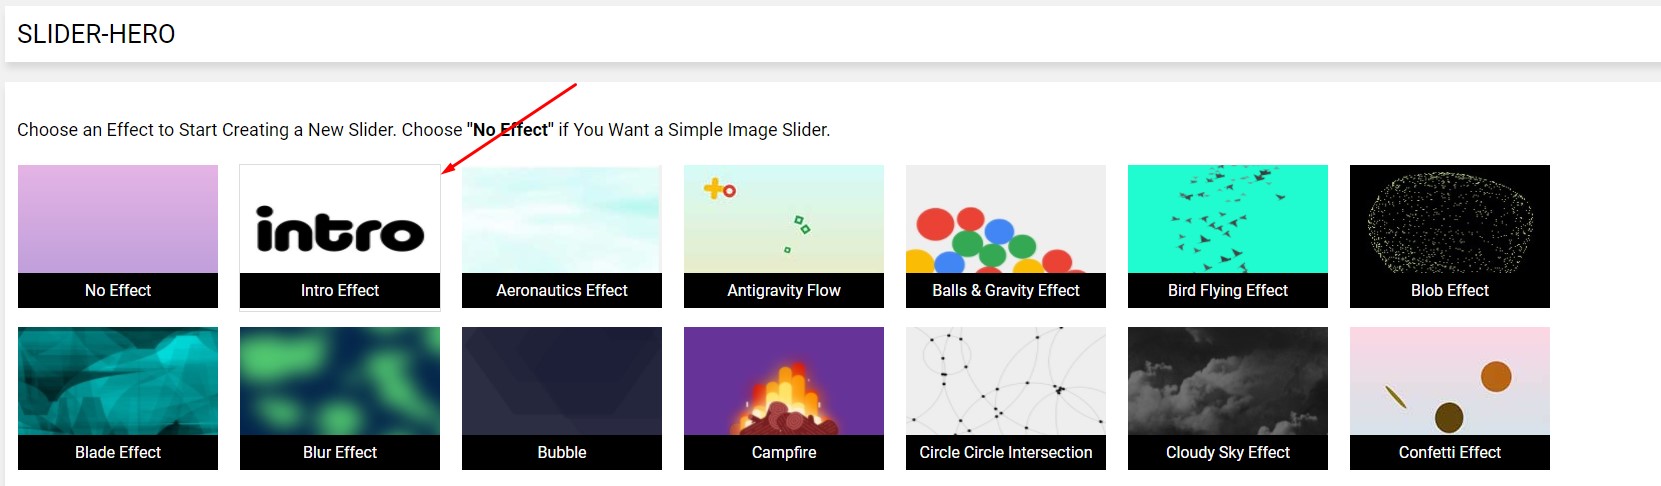
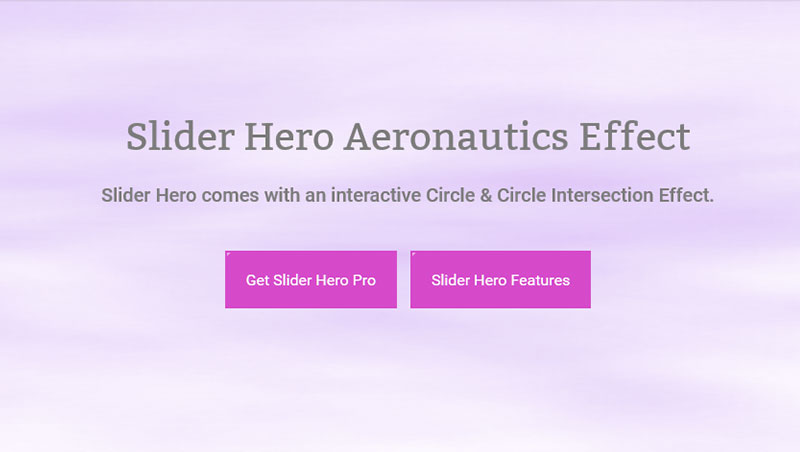
Now you need to choose a Slider Background Effect from over 70+ Background Effect. Choose and just click over it.
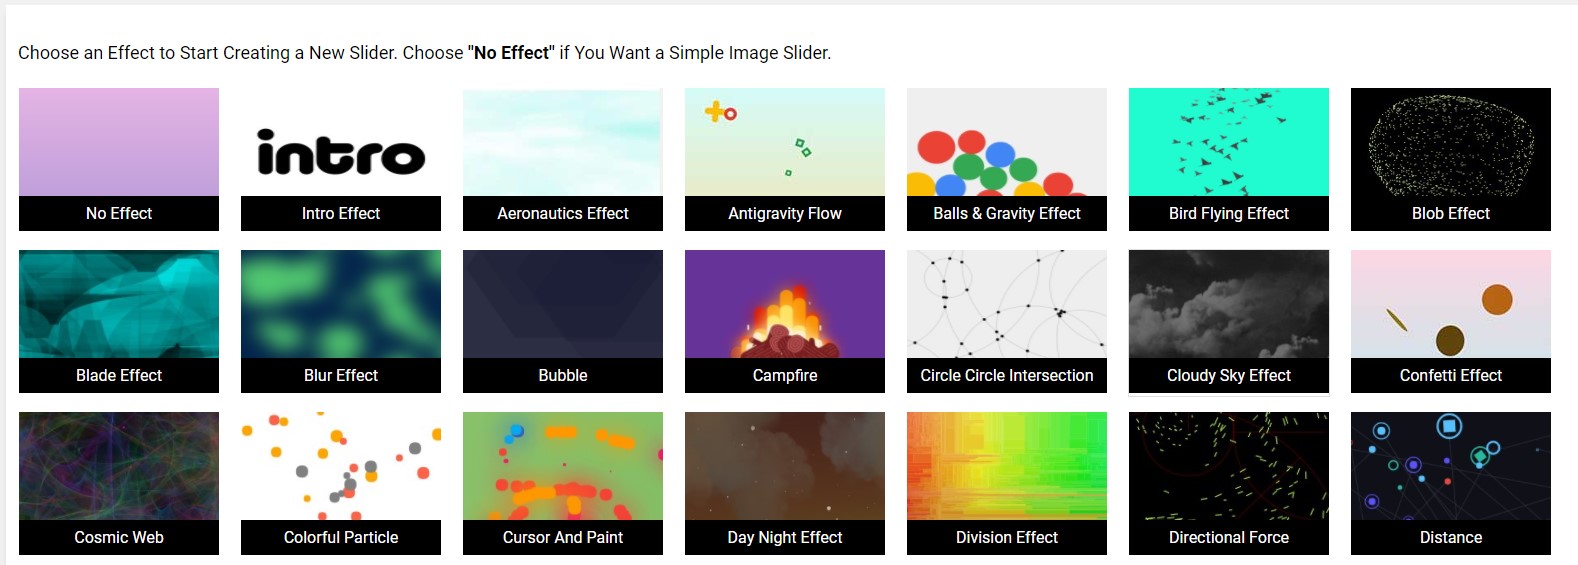
- By Selecting slider effect a new slider will be created.
-
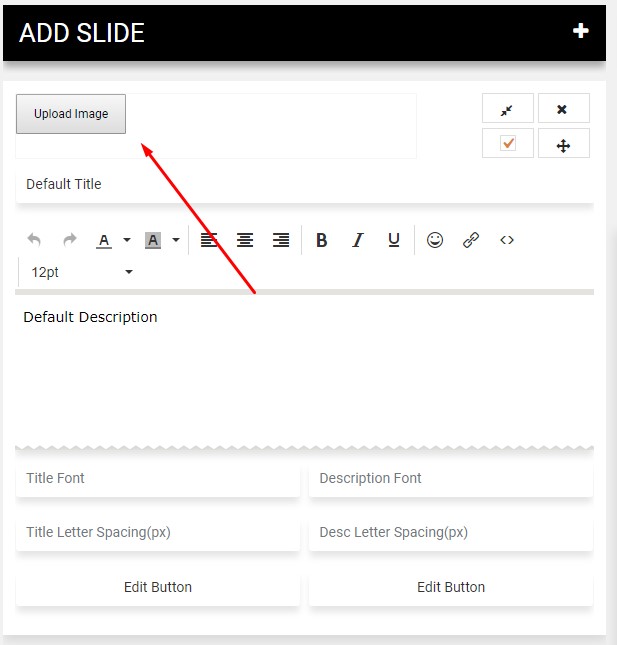
Now you can add slide as many as you can. Just click on add slide button. It will create a slide for every click.
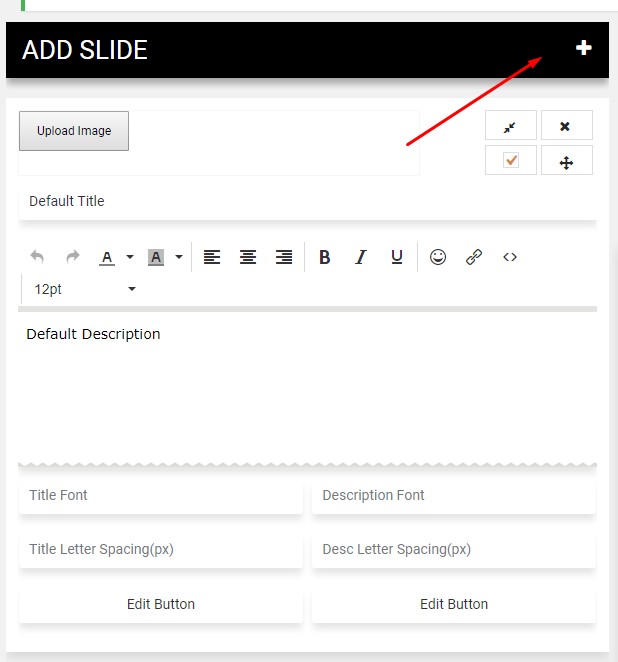
-
Now you can add title & description for slide.
Please Note: If you add multiple text slide then automatic navigation panel will appear.
if you add just one text slide it will show as a animated hero banner.
You can collapse this slide by pressing Collapse at top.
Remove for remove a text slide.
If you do not check the Published, it will not appear in front-end.
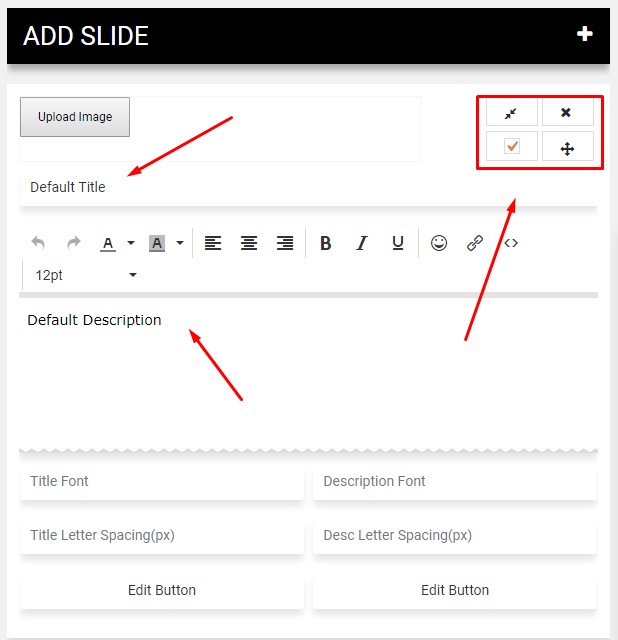
Another little drug button on right side of the box will allow you to ordering your slide by drug & drop.
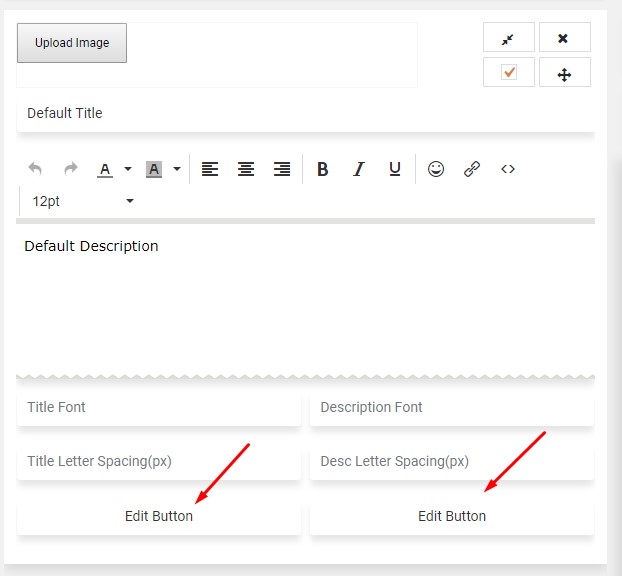
You can add image in every slide by clicking on browse button. Image will change along with every slide but we recommend to use No Effect as background effect for image slide.
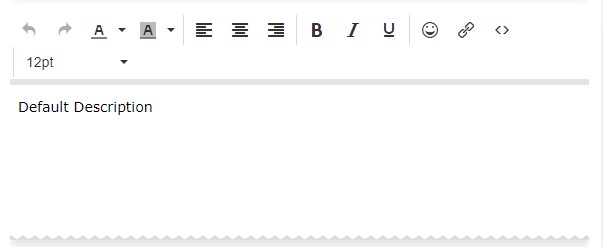
- Description Field has a rich text editor so you can add Emoticons,links,Colors etc.
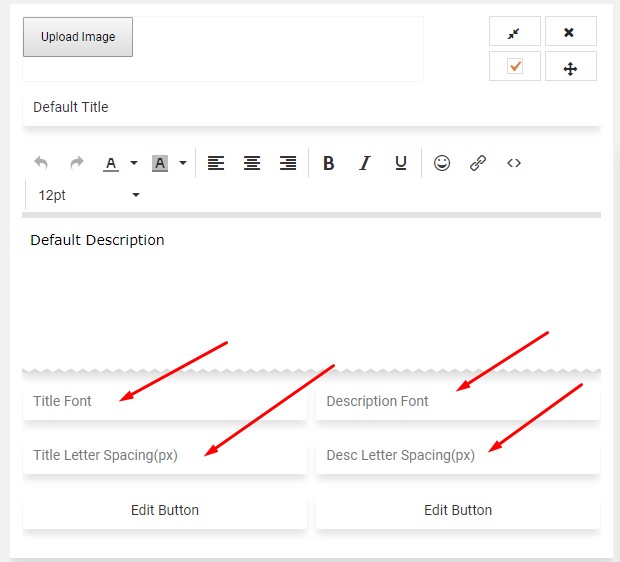
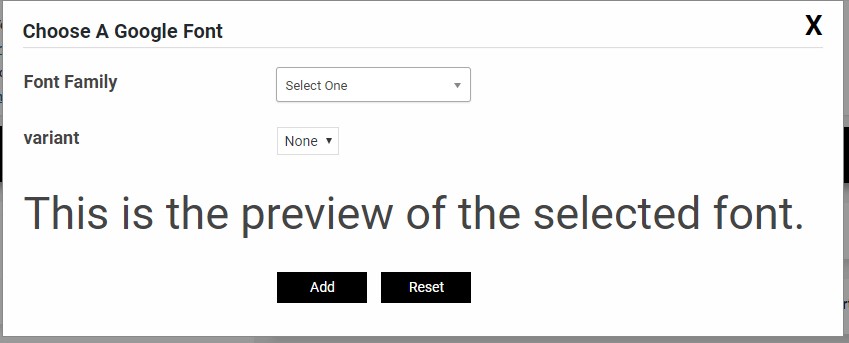
- Specify slide Title & Description font family from 800+ google font with variant and also Letter Spacing can be set for both in (px).
Manage Buttons
Slider Hero user frienly Button creation panel will allow you to create awesome button with own color combination and custom effects. You can add maximun two button in your every slide.
- Just click on any "Add a Button", then a popup window will appear where you can manage your button.
-
Here you will find all necessary setting for creating a button & also you can choose some effect from button effect.
When you have done with those setting you just simply press Add Button to add this button with specific text slide.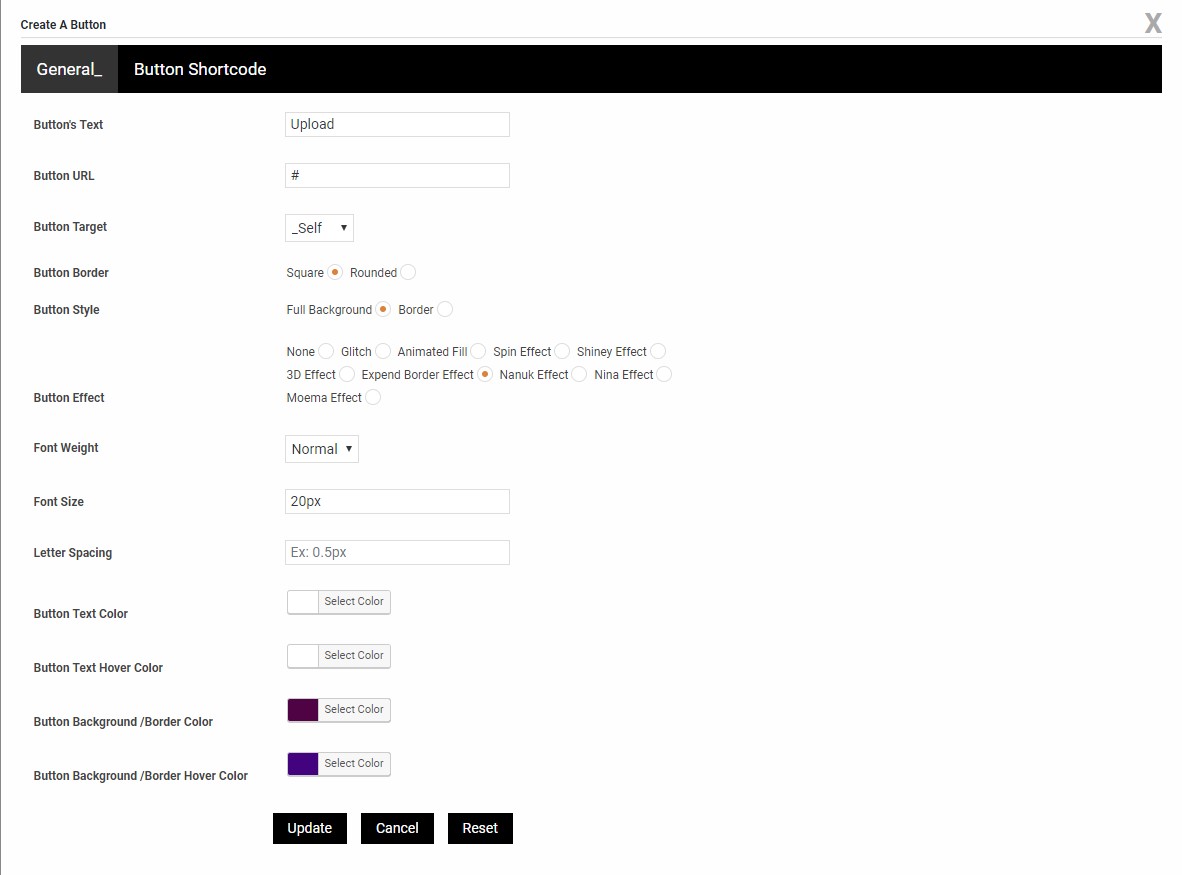
-
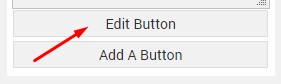
When a button will be added to slide, "Add A Button" text will change to "Edit Button", so when you click on this the panel will be loaded with those settings that you specified earlier. so you can edit this with same panel.
-
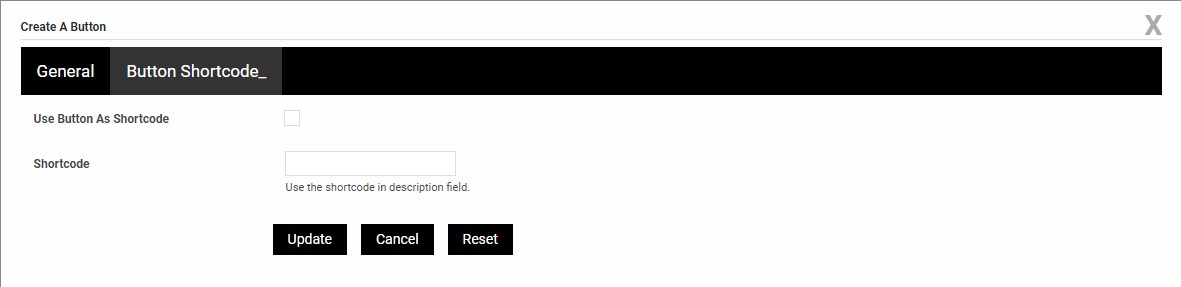
Here is another option that is allow you to add button as shortcode in slide description area.
For doing this :
Go to the next tab Button Shortcode.
Check the use button as shortcode
A shortcode will generate and it will appear in shortcode box & also appear a new button "Add Shortcode" at bottom.
Then Click on "Add Shortcode", it will automatic set the shortcode to your description field.
General Settings
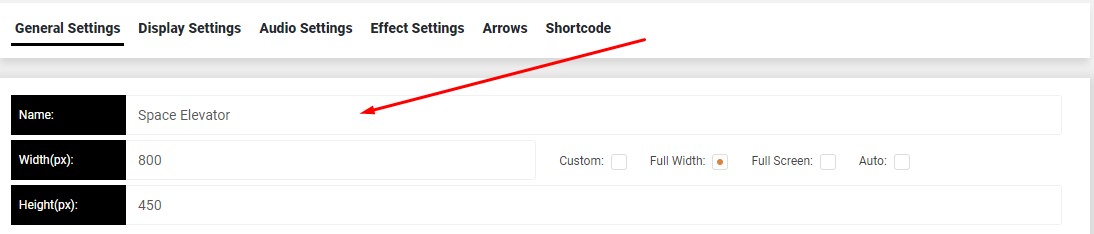
Here is full overview of General setting
-
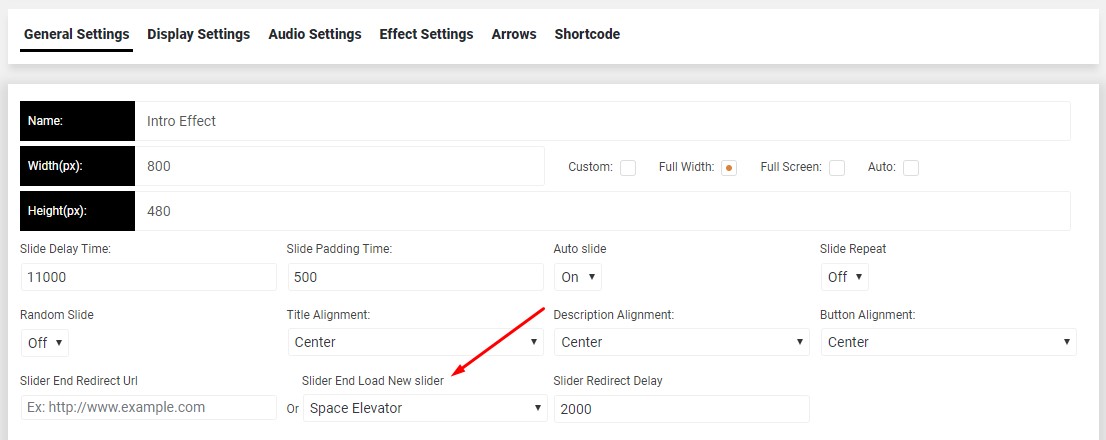
Name:, Replace the default New Slider Hero text to your slider name.
-
Width: & Height: has some dependency with right side checkboxes.
Like, if you check Custom then you need to provide custom width & height must.
If you check Full Width then you need to provide height only, width will auto adjust with your screen size.
If you check Full Screen then you do not need to provide width and height. Slider will automatic adjust your with screen width & height.
If you check Auto then it take only available space that allowed by parent div. you need to provide height only.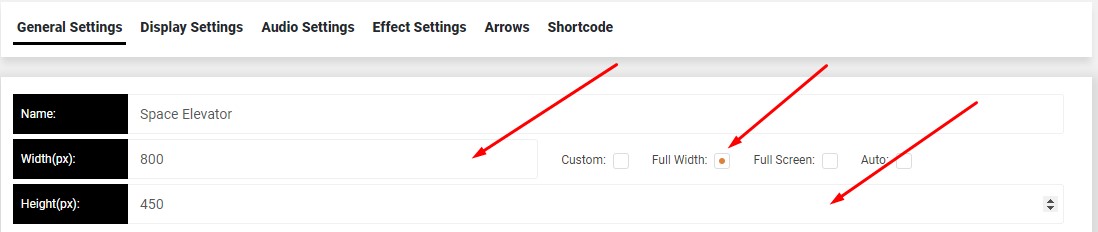
-
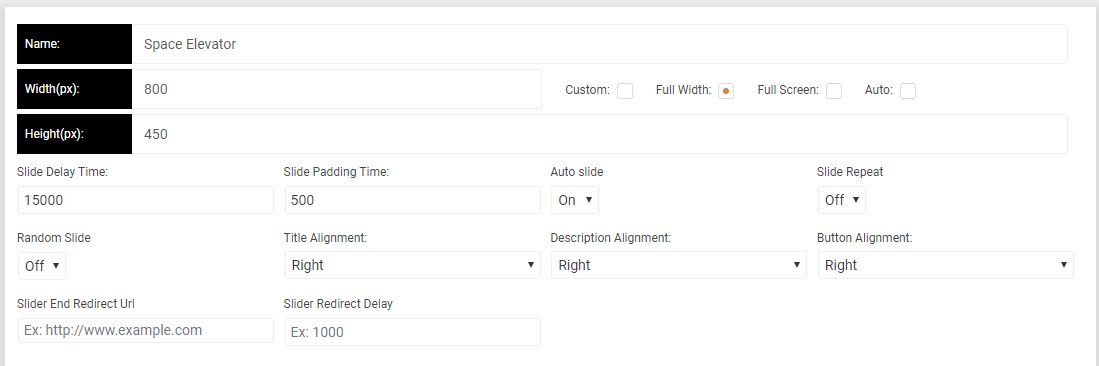
Slide Delay Time: You can set slide delay time. ex:3000 means 3s.
Auto Slide: If you turn on this setting sliding will start automatically. To stop auto slide turn the setting off
Slide Repeat: If you turn on this setting sliding will repeat automatically. To stop repeat turn the setting off
Random Slide: If you turn on this setting slide will appear randomly. To stop random turn the setting off
You can also set the alignment for Title, Description & buttons from the dropdown below.
Slide End Redirect Url: This option will allow you to provide a redirect url so page will be redirect after slide completed.
Slider Redirect Delay: You can specify the redirect delay time here.
-
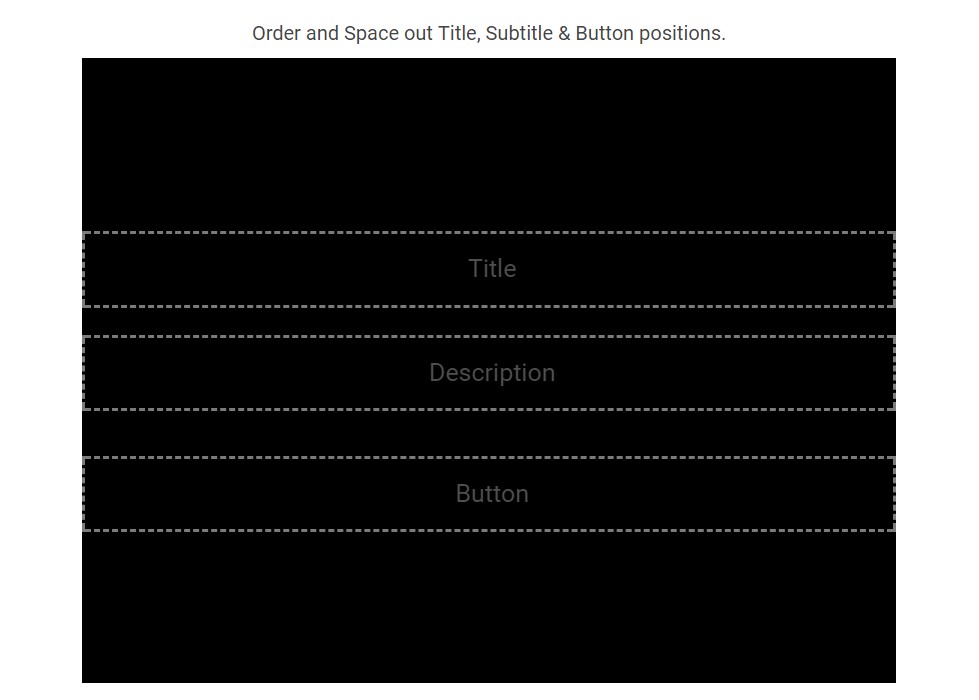
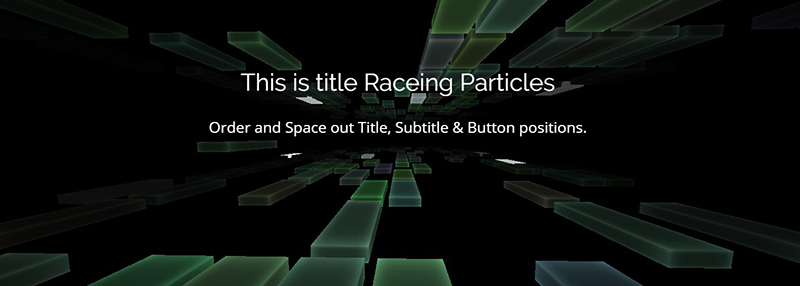
You can order and space out of title, description & buttons by using this module.
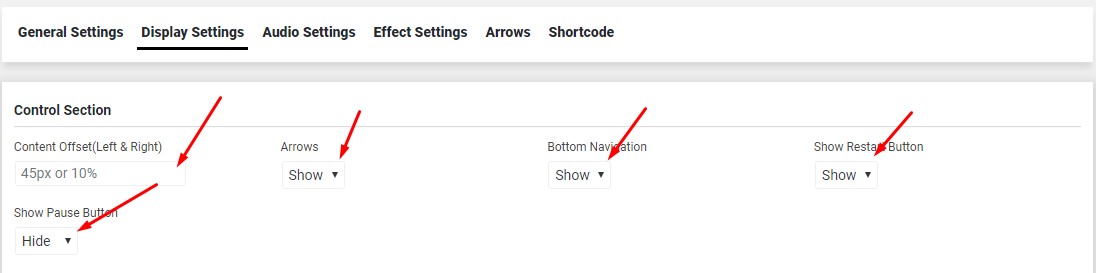
Display Settings
-
Content Offset(Left & Right): Here you have options about slide content offset for left & right (px or %).
Arrow: If you turn on this setting Arrow will appear in slider. To hide arrow turn the setting off
Bottom Navigation: If you turn on this setting Bottom dot navigation will appear in slider. To hide bottom dot navigation turn the setting off
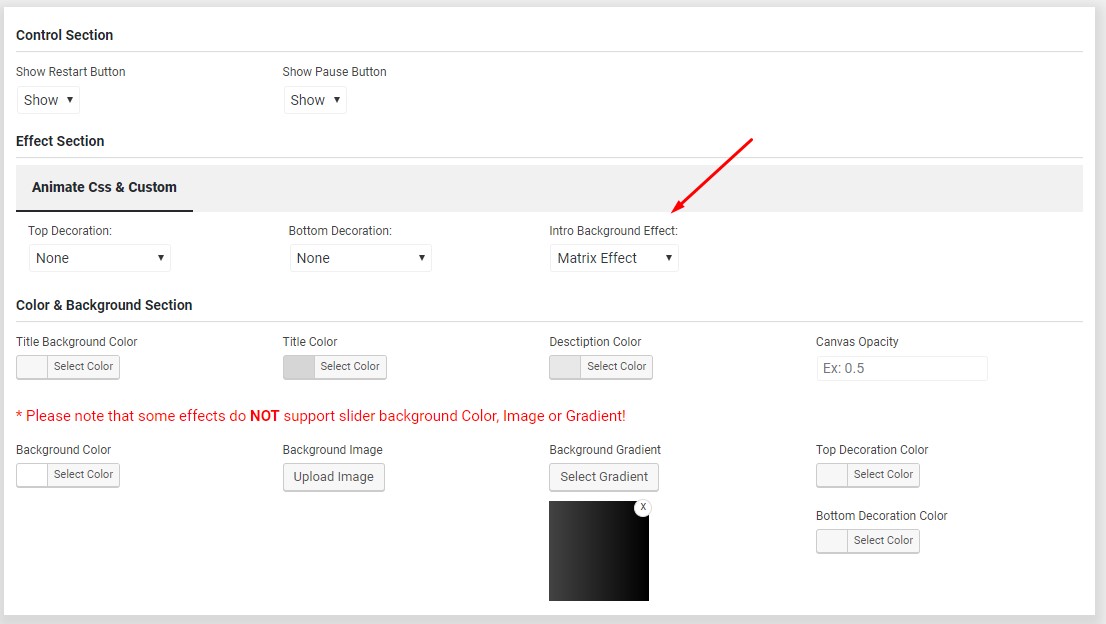
Show Restart Button: If you turn on this setting a slider restart button will appear in slider along with bottom navigation. To hide slider restart button turn the setting off
Show Pause Button: If you turn on this setting a pause button will appear in slider along with bottom navigation. To hide pause button turn the setting off
Enable or Disable auto slide, Arrow, Bottom Navigation
- You can set the Title font Size, Description font size, Title Line Height, Description Line Height here.

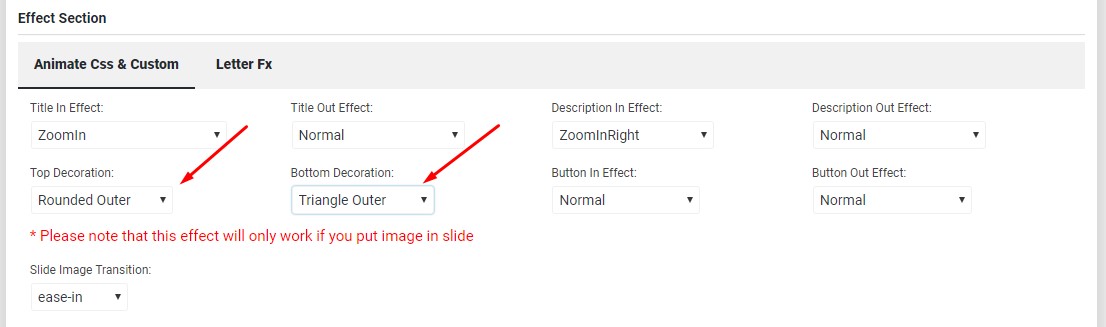
- In this section you can select some Animate css & custom effects for Title, Description, Button, Top Decoration, Bottom Decoration & slide image transition.
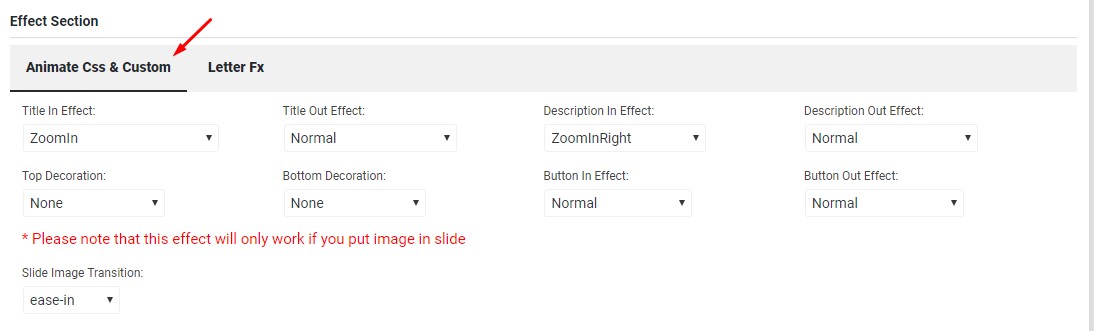
You can also select Letter fx effect for title, description along with Animate css effect.
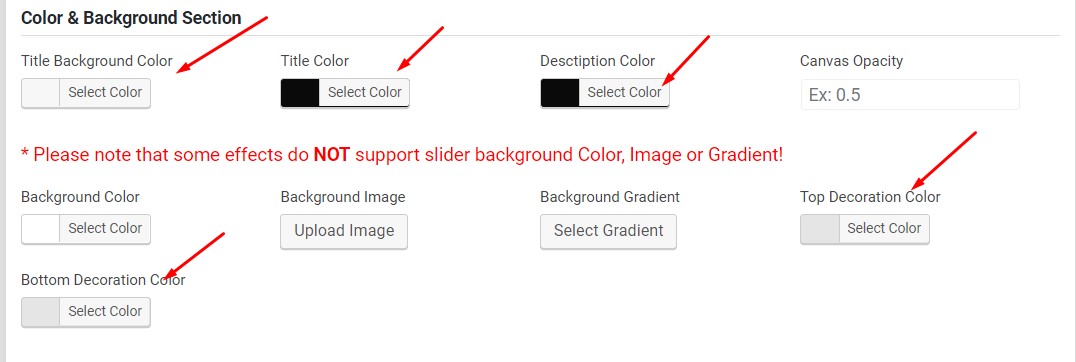
- Here you have several color setting option for Title, Description, Bottom Decoration, Top Decoration etc.
-
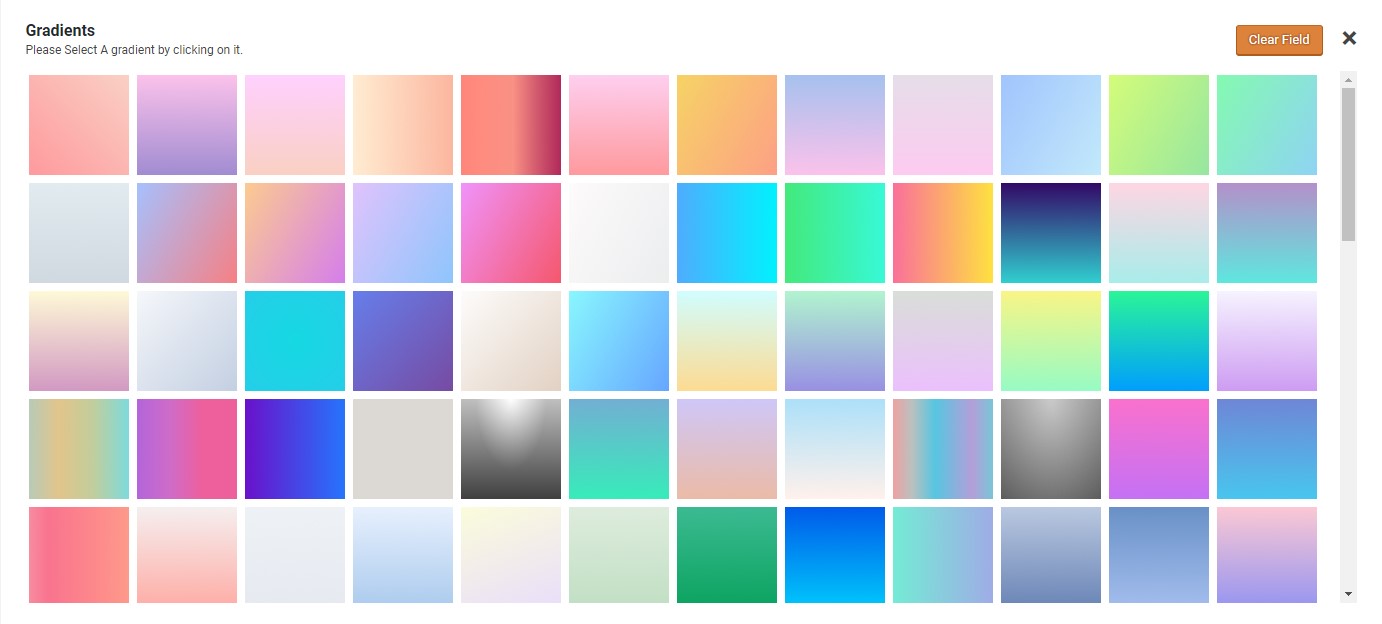
You can set custom background color by using color picker or you can try a background image by selecting from gallary.
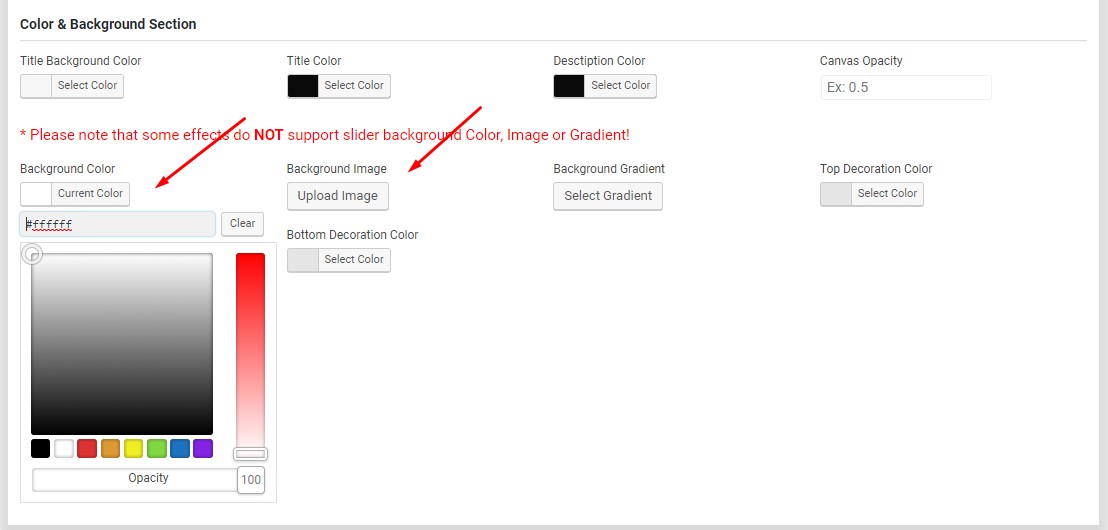
Also you can set a gradient from our preset gradient library by clicking on Background Gradient.
- Canvas Opacity will allow your to show up what behind the canvas.
-
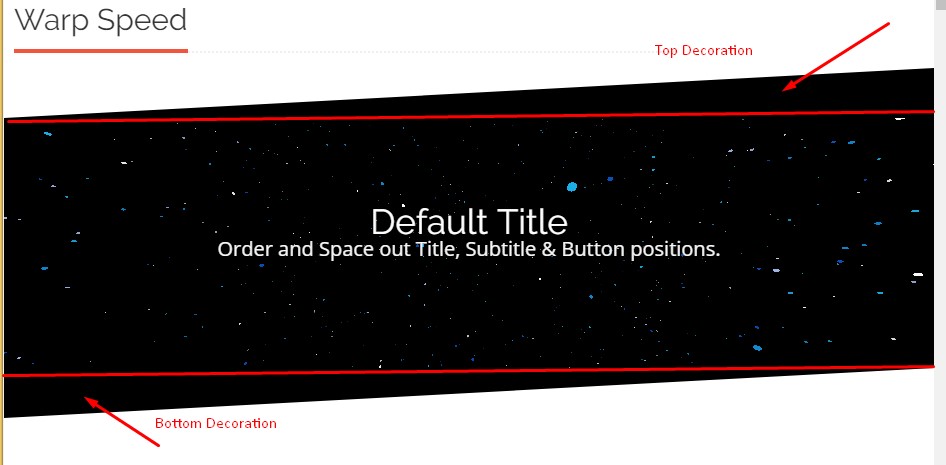
Top & bottom decoration will allow you to decorate the slider slider top and bottom area.
Here you can see how does it looks
Audio Setting
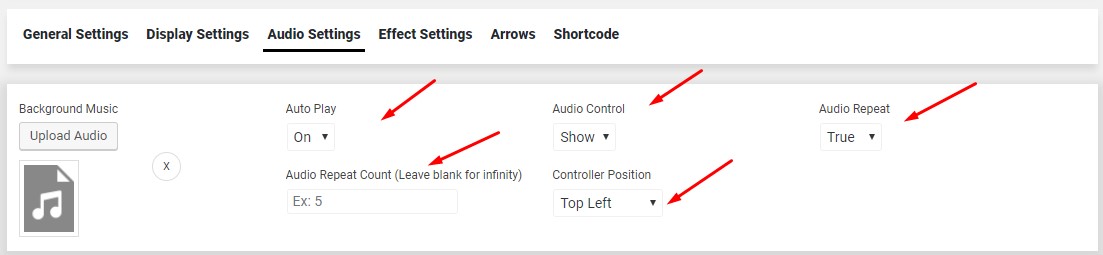
Audio settings allows you to add Audio layer in your slider. There is several options to manage audio layer such as Auto Play, Audio Control, Audio Repeat.
Audio Repeat : If you set true audio will repeat. To stop repeation set the value false.Audio Repeat Count : This option allow you to repeat the audio multiple times as you want. Leave the field blank for infinity.
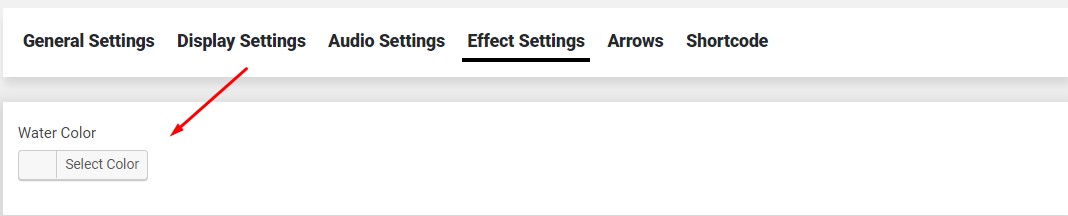
Effect Setting
If specific Backgrond effect's has effect setting then it will appear here.
Arrows
You can set arrow navigation for slide from here.
By clicking the textbox a popup window will loaded with preset arrow style.
![]()
Then you can select any arrow style from this library by clicking on it.
![]()
Its also allow you to set Arrow Color & Arrow Hover Color.
![]()
Navigator color & Navigator hover color can be set by Navigator Color & Navigator Hover Color.

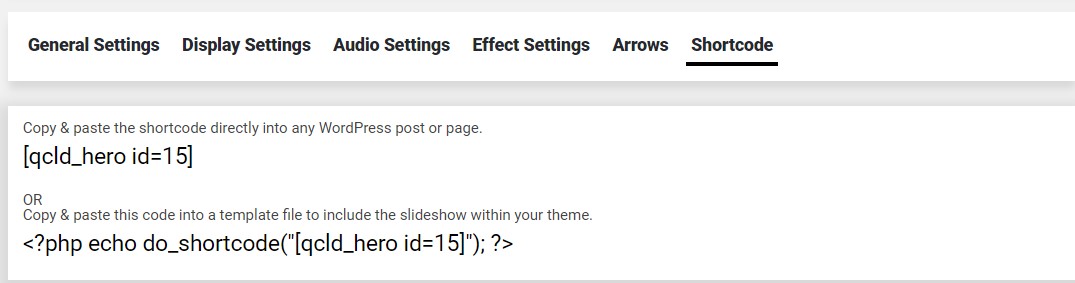
Shortcode
Here you will see the shortcode of your slider copy and paste it where you want to use it.
Change Effect
This option will allow you to enter change your effect that you provide earlier, when you create a new slider. You can change it to any other effect. This option will appear at the top of the page.

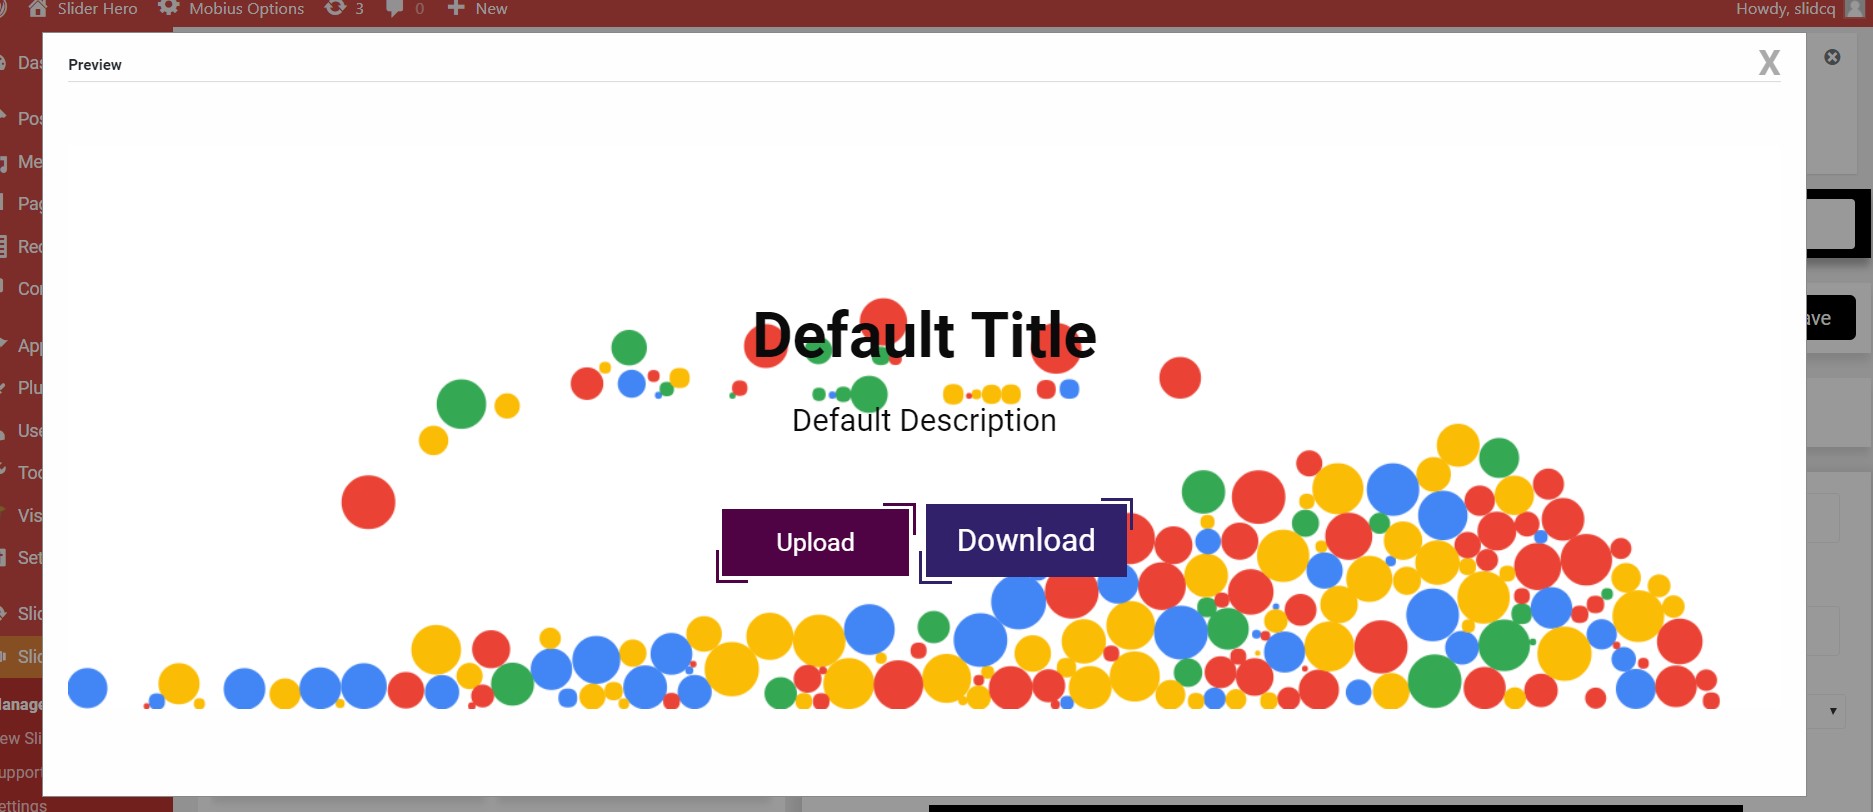
Preview
This option is allow you to see the preview of what slider you setup but you need to save the slider setting first or if you click on Save & Preview button, it save your data first then it will show a preview of your slider. It will appear on the same screen as a popup window.
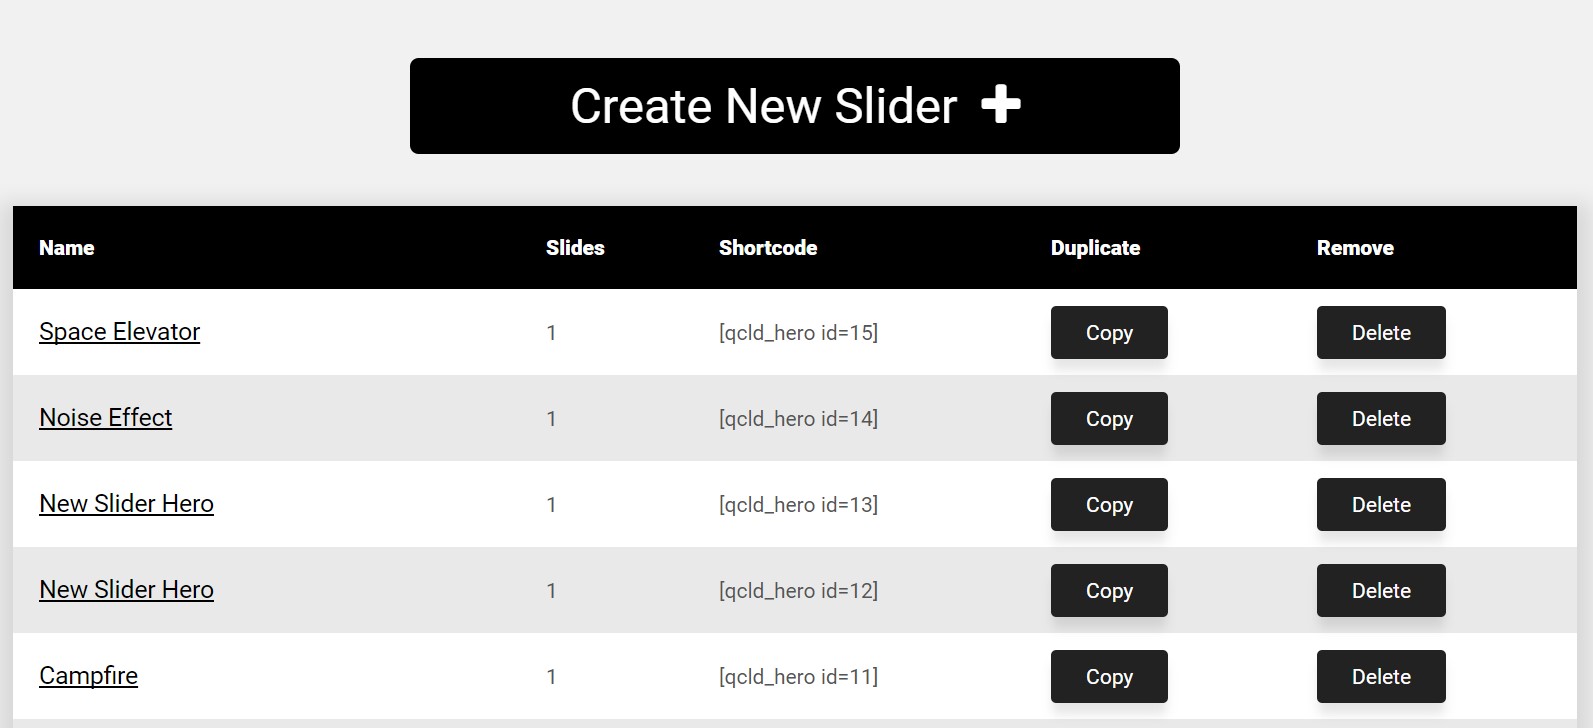
Manage Slider #back to top
Manage Slider
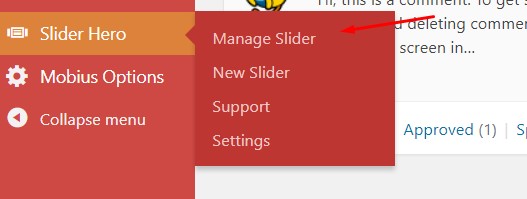
By Clicking this menu you can see a list of your slider. Here you can also create a new slider, Edit a slider, Delete a slider and also copy a slider by clicking on copy link.
Create Intro Slider #back to top
Intro Slide
You can create a stunning intro slide by following this tutorial.
Now you have to click on Intro effect
Here you have to put title text for every slide. There is no description field. For slide animation, delay and other settings you have to click on Edit Configuration button.
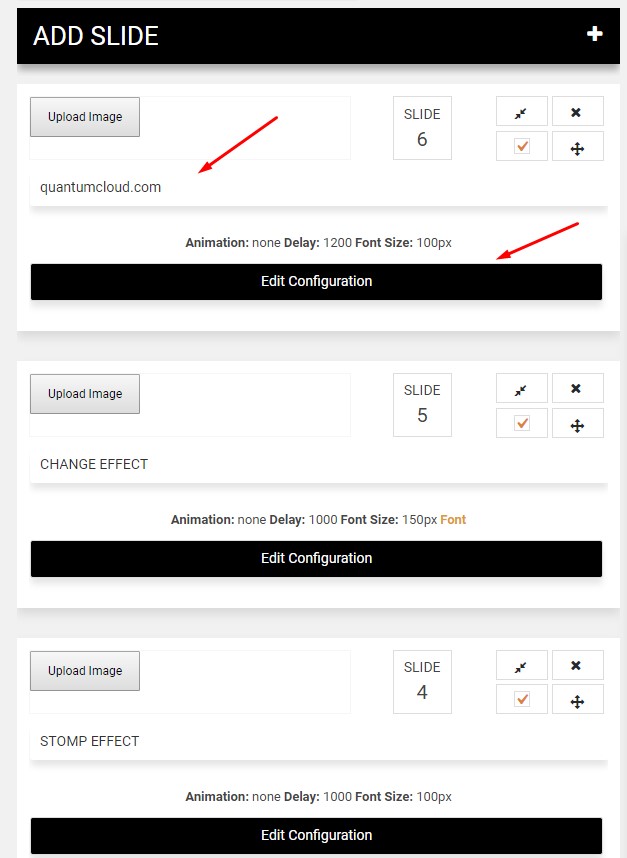
When you click Edit configuration a dialog box will appear and it should look like this below image
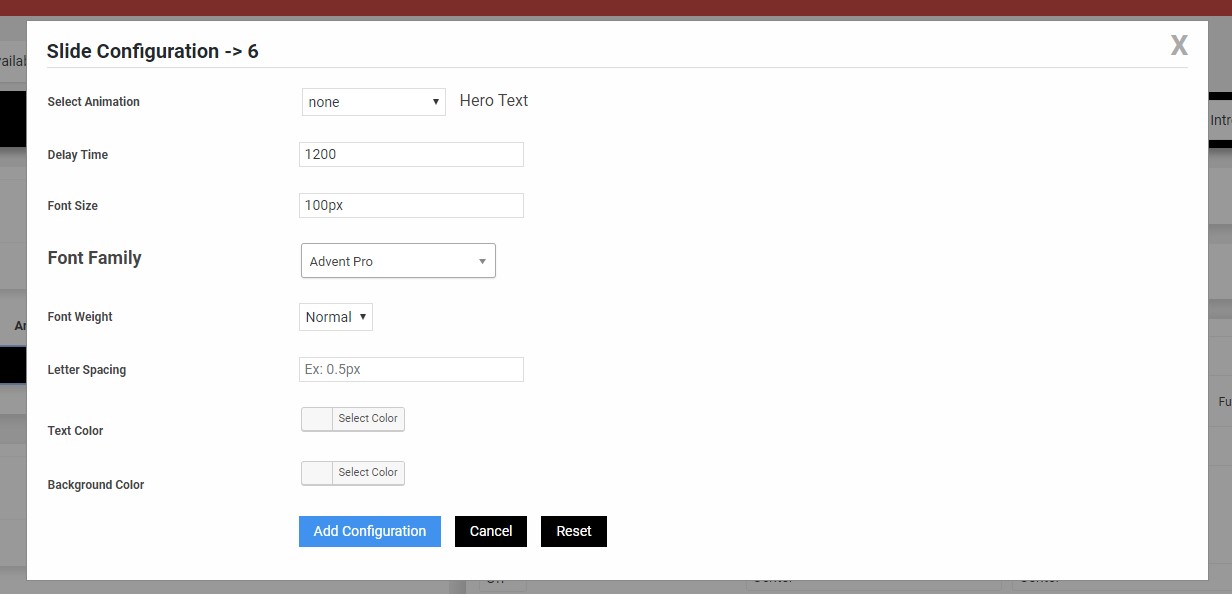
Slider End Load New slider: You can able to load any other slider as soon as the intro effect finished. Here you will get all your created slider to select as load new slider.
Here is some of intro background effect that you can use as a intro backgrond effect or you can set any color or background gradient or image as intro background effect.
Intro Output

How to Display #back to top
To display the Slider in your post/page, you need to use shortcode. You see a hero logo in TinyMCE editor on post or page.

By clicking on this button a shortcode generator will appear as a popup window then you can select your slider then hit the "Add Shortcode" button.
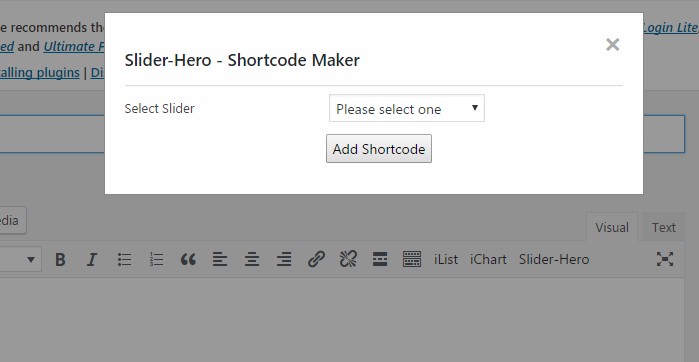
Or you can copy it from Manage Slider.
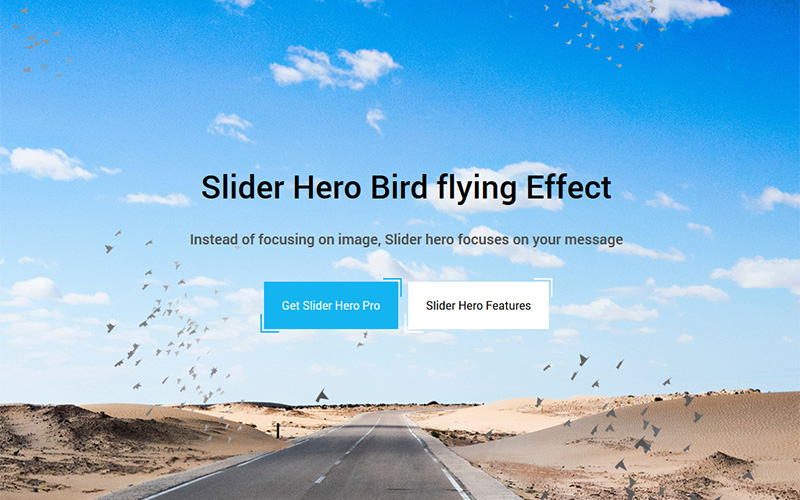
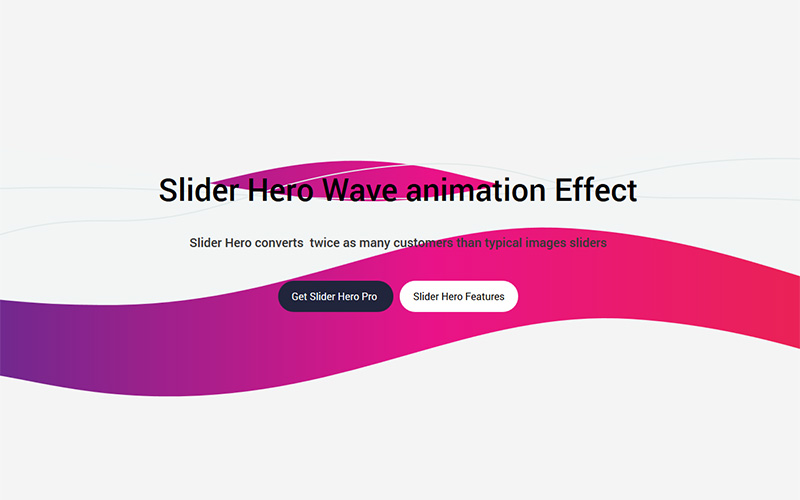
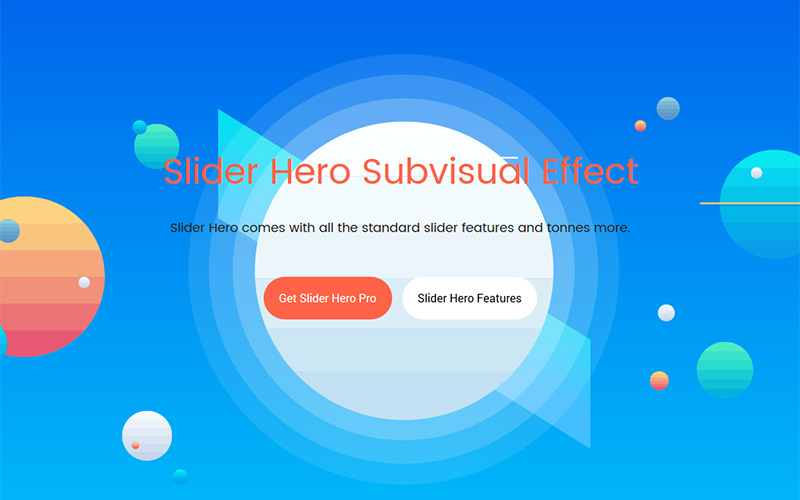
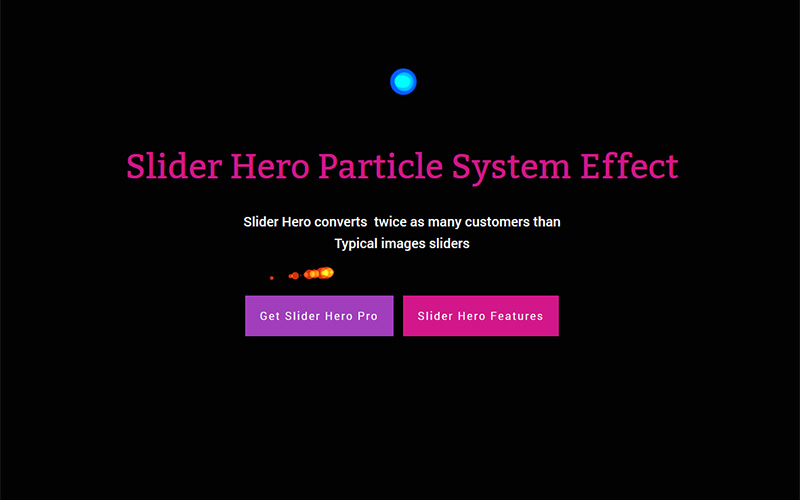
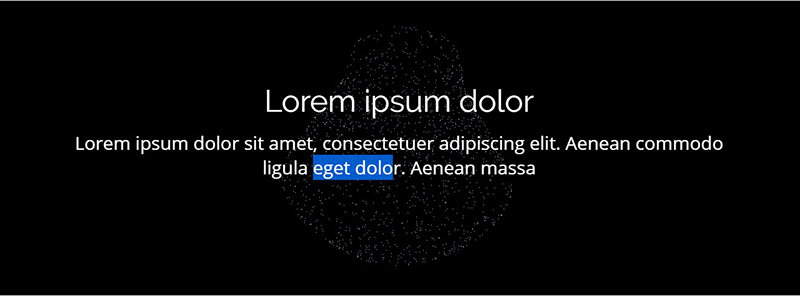
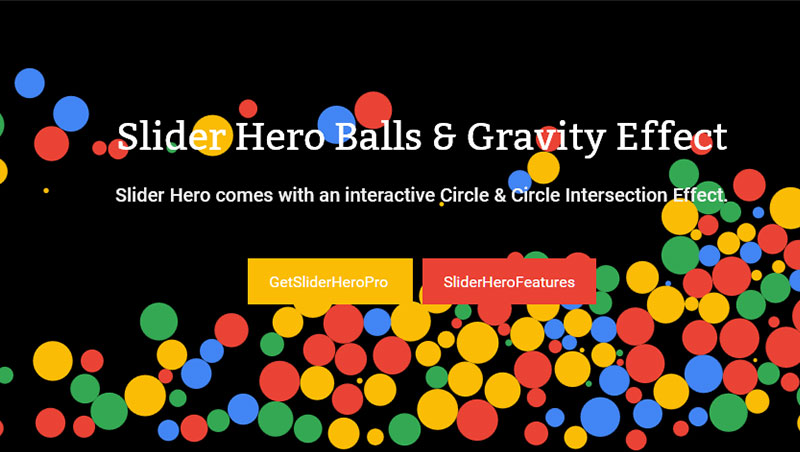
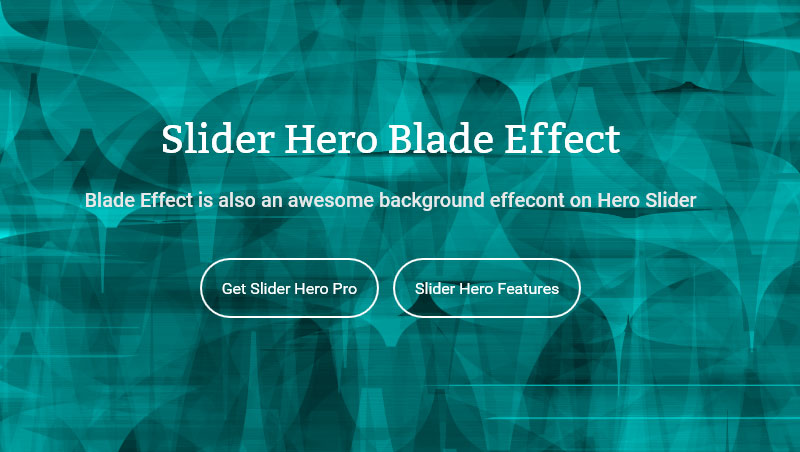
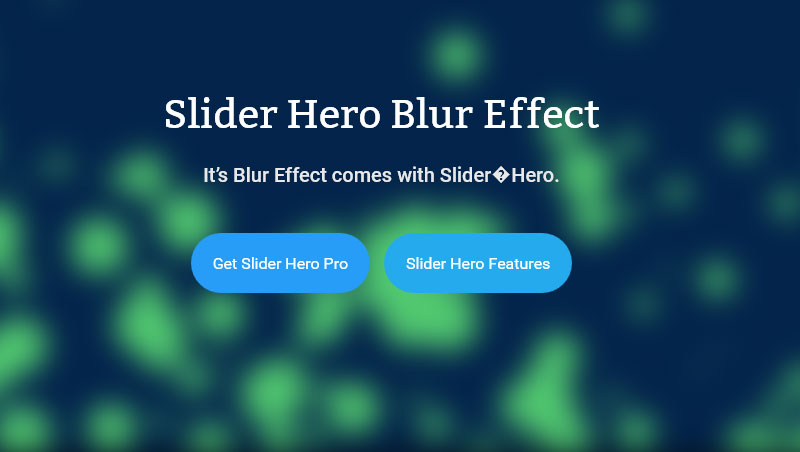
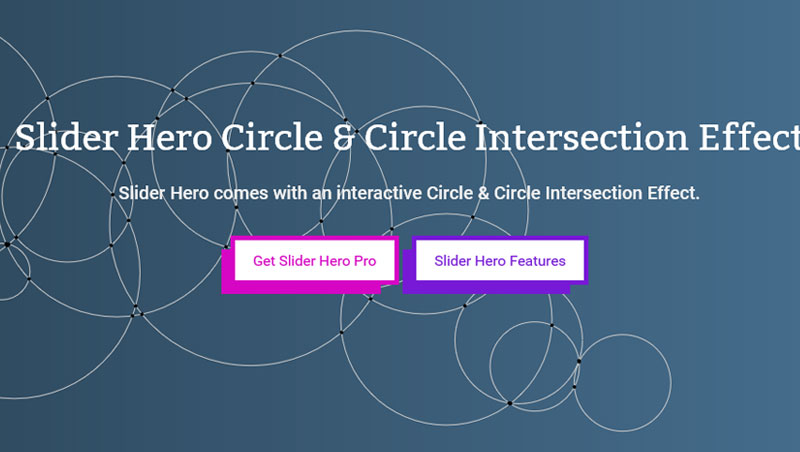
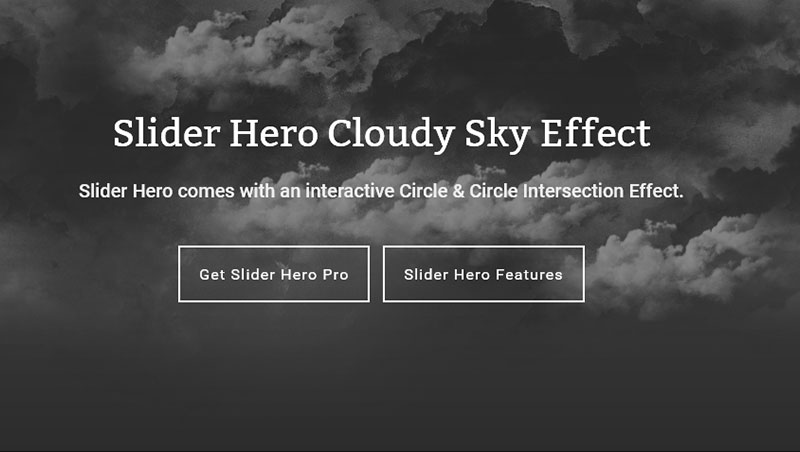
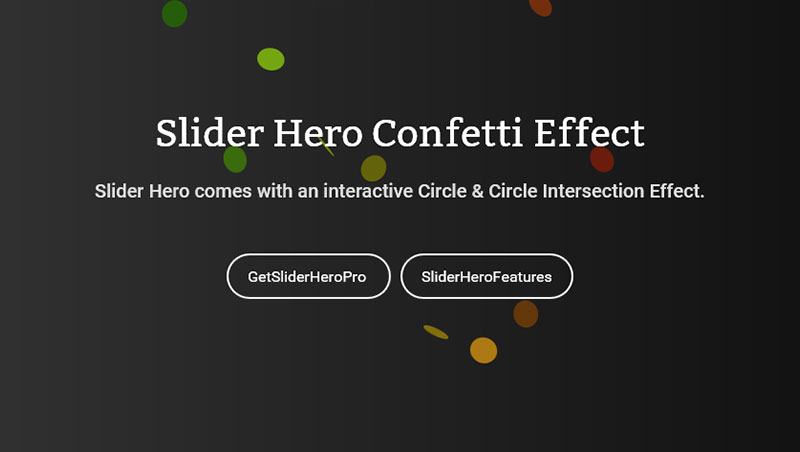
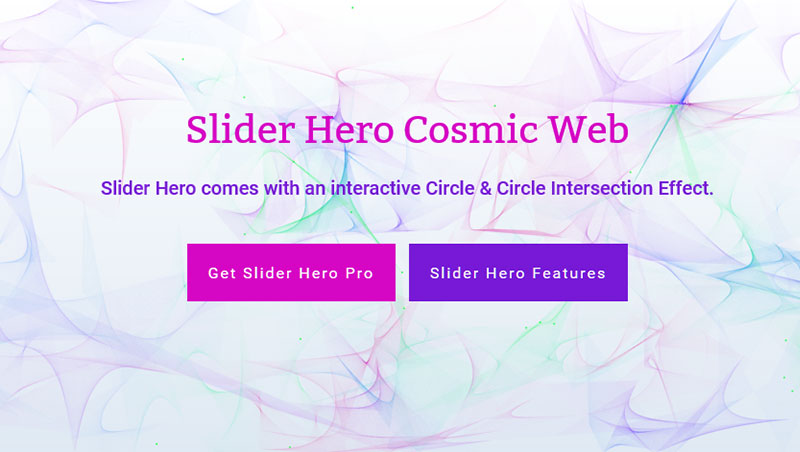
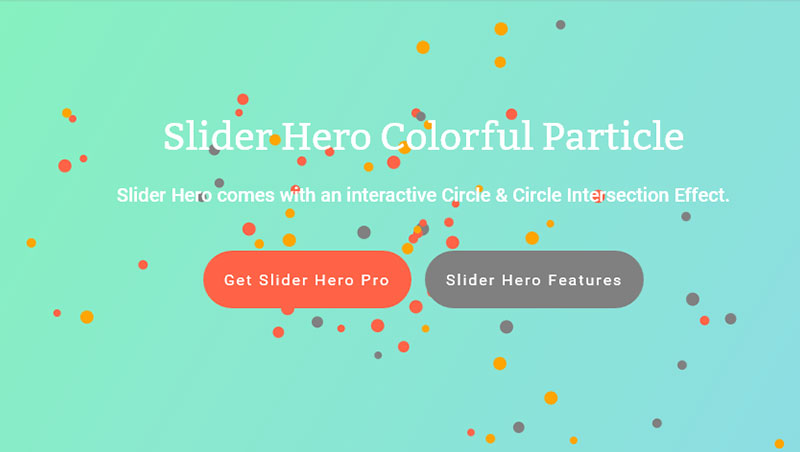
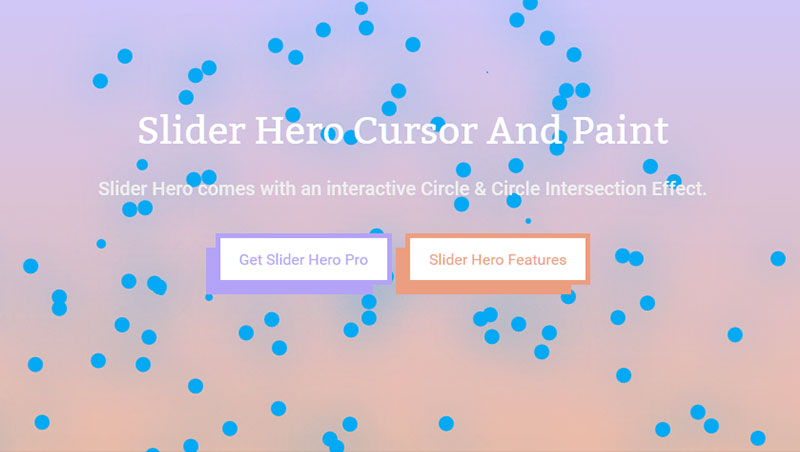
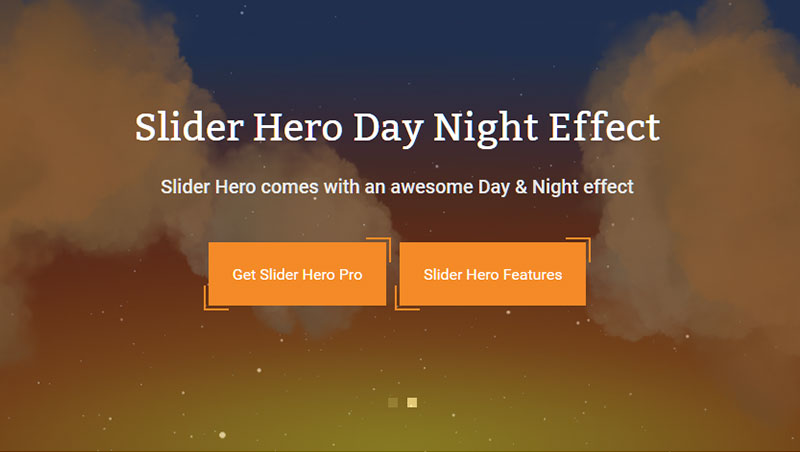
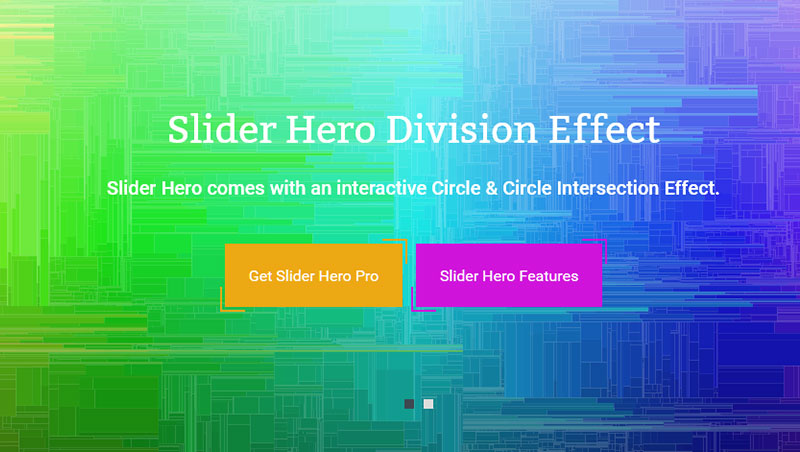
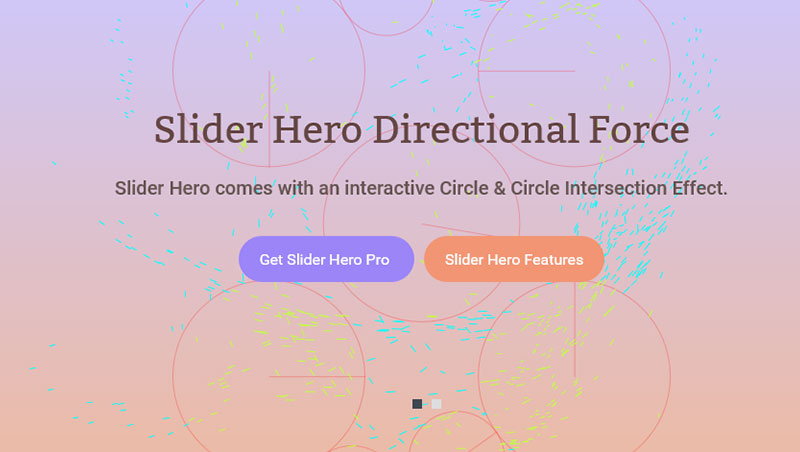
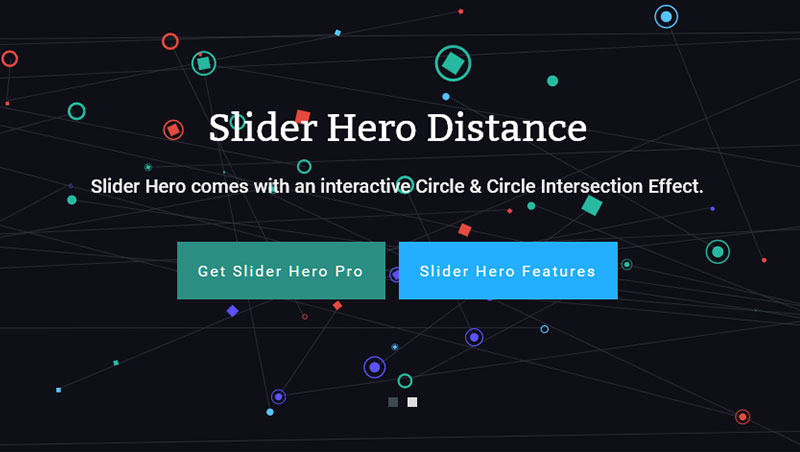
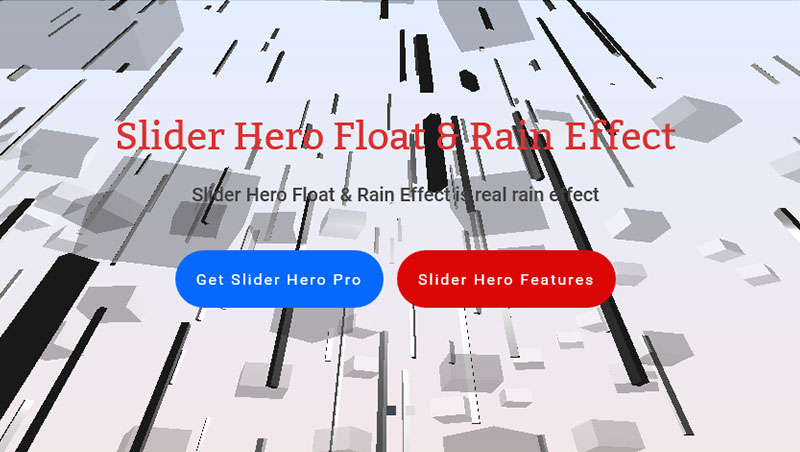
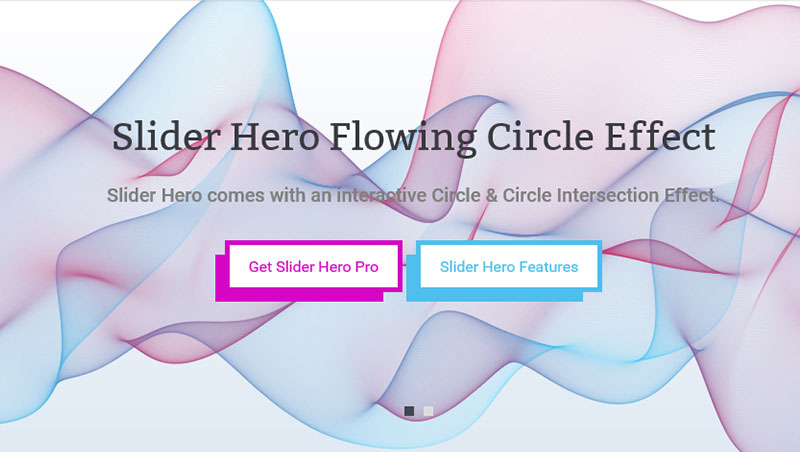
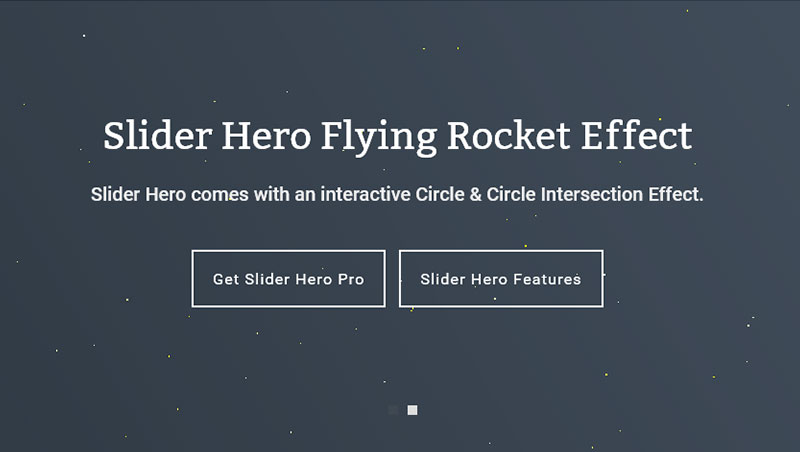
Effect Style #back to top
Here is some of effect styles.


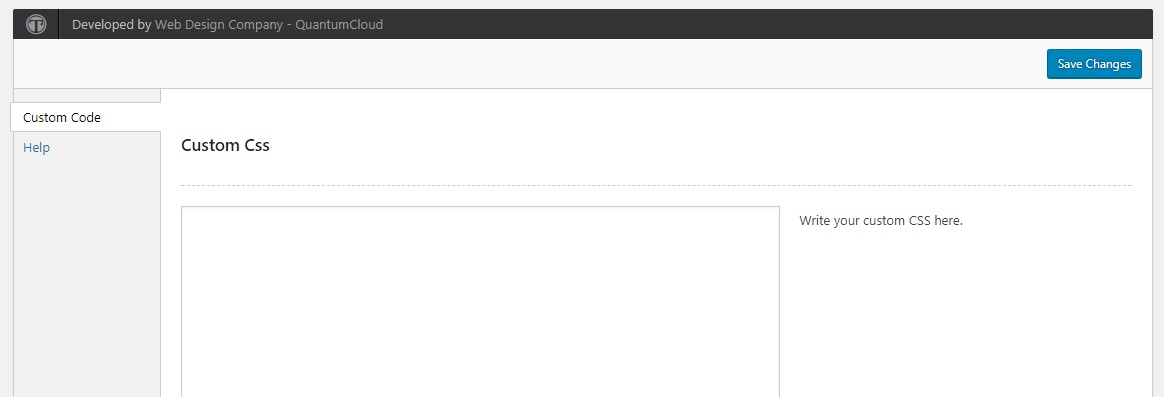
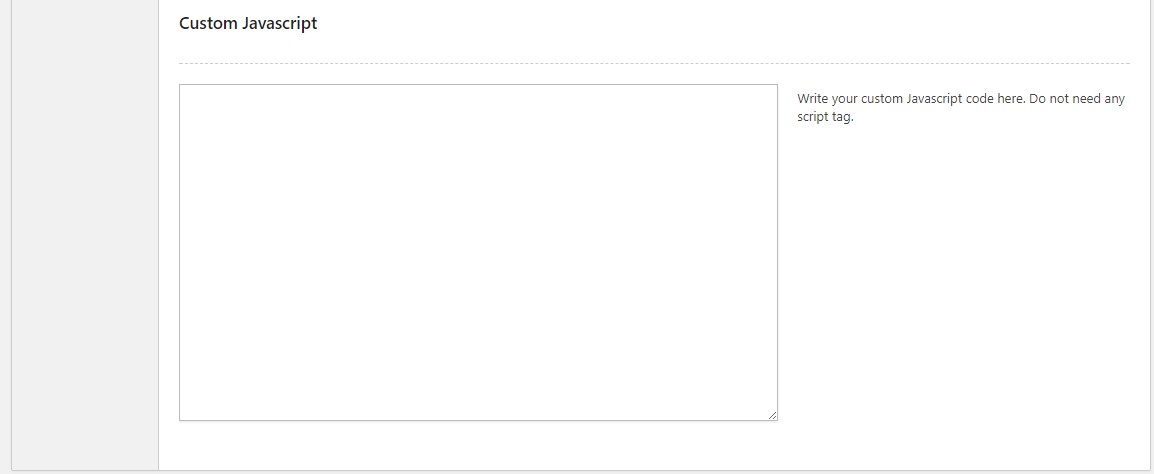
Settings #back to top
You will see a menu called Settings.
By clicking this menu Settings page will be appear and you will able to put custom css & custom javascript here.
Support #back to top
You will see a menu called support.

By clicking this menu our support page will be appear and you will get a support form into the page. You can contact us or request a support by submitting this form.
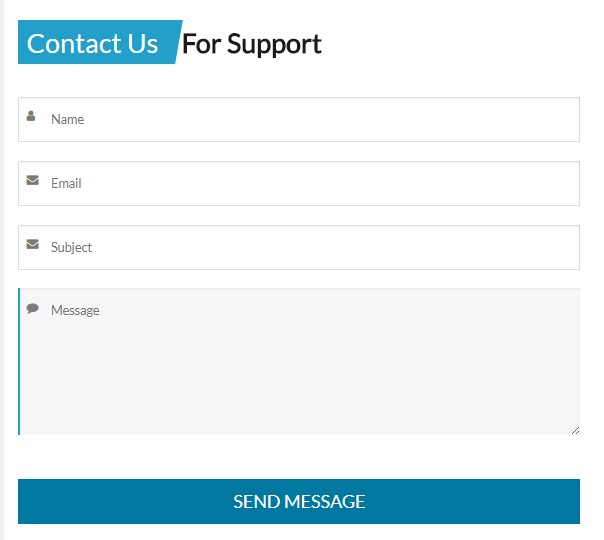
To get instant support, you can email us at: [email protected]
Any feedback or feature requests are most welcome. We will try to incorporate your valuable suggestions with our item.