iList - Pro
An advanced solution for your Info List, Graphic List & Infographic List
- created: 01/22/2017
- by: QuantumCloud
- email: quantumcloud@gmail.com
Thank you for purchasing our item. If you have any questions that are beyond the scope of this help file, please feel free to email via our user page contact info form here. We truly hope our plugin increases the value of your website!
ABOUT
iList - Pro
iList - Pro is first of its kind WordPress plugin to build and create Infographics and elegant Lists effortlessly.
Create Dynamic, HTML & Responsive Infographics or stylish Text or Graphics Lists easily and display on any WordPress page or post with short codes. <br/><br/>This is a new way to create Infographics and upgrade your boring lists into exciting contents. Turn your website into an Authority by creating exciting contents that your website users will love, bookmark, embed and share!
iList - Pro Features
- Create 3 Type of lists: Info Lists, Graphic Lists & Infographics
- Built in 80+ Templates
- User Up Vote
- Embed Feature
- Powerful short code options for extensive control over display
- Font Awesome Icon
- iChart
- and many more
INSTALLATION and OVERVIEW of FEATURES
You can install "iList - Pro" plugin by following some simple and easy steps.
Please find 'iList-pro.zip' file inside your downloaded package and install it following the steps below: -
From your WordPress dashboard:
- Visit 'Plugins > Add New'
- Click on 'Upload'
- Click on 'Browse' button and then select 'iList-pro.zip' from file upload window
- Then click 'Install Now' button. The plugin will be installed within some moments.
- Then click 'Activate Plugin' link to activate the installed 'iList - Pro' plugin.
Manual Installation:
- 'Upload / Copy' 'iList-pro.zip' file to your 'wp-content\plugins' folder
- Unzip the 'iList-pro.zip' file
- Visit 'Plugins -> Installed Plugins' from your site dashboard
- Find 'iList - Pro' in the plugins list, and activate it by clicking on 'Activate' link
Important: follow the upgrade section if you want to upgrade your plugin from free version to premium version.
HOW TO UPGRADE FROM FREE VERSION
To upgrade your "iList" plugin from FREE version to PREMIUM version please follow the below steps:
- Download the latest pro version of the plugin from website
- Log in to your WordPress admin area and go to the Plugins management page.
- Deactivate and Delete the Old Pro/Free version of the plugin (don’t worry – your data is safe)
- Upload and Activate the latest pro version of the plugin
- You are done.
GETTING STARTED
Please check this in depth guideline on how to get started with making infographic with iList pro.
After installing 'iList - Pro' plugin, you can manage your lists as below -
Simple Steps to get Started:
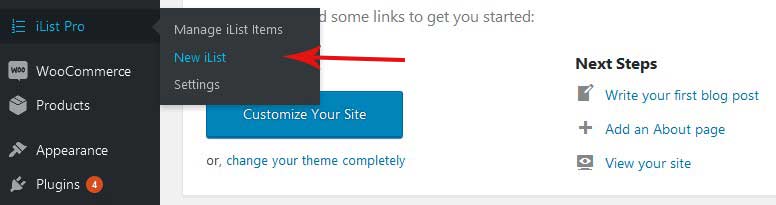
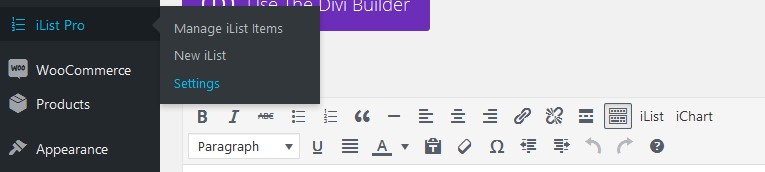
- After Installing the plguin, crate your new list from 'iList Pro' --> 'New iList'
- Go to your post/page where you want to display ilist and then insert sortcode ( manually or by clicking on iList button of your WP text editor).
- Save your page and check the output
- For more details please see below.
Getting Started with Infographic Maker WordPress Plugin iList
How to compare two lists with WordPress Infographic Maker iList
Create a New iList
-
Go to 'Dashboard' --> 'iList Pro' --> 'New iList'
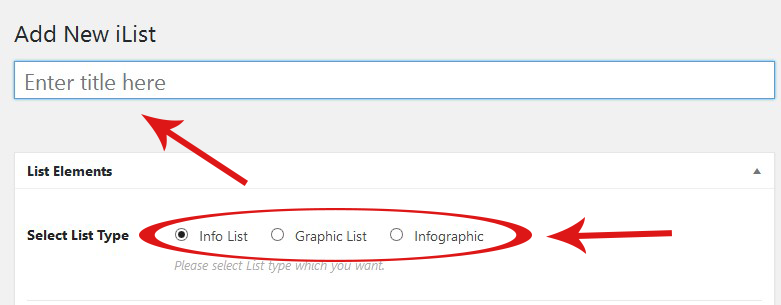
- Give your list a title
-
Then You need to select your List type (Info list, Graphic List or Infographic)
-
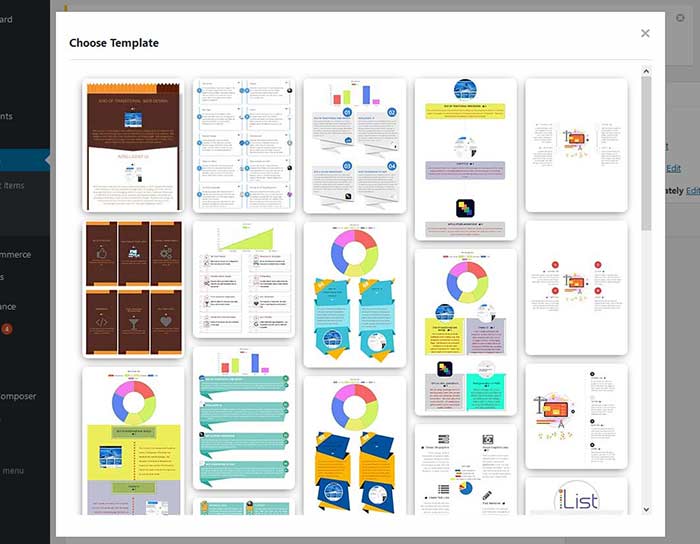
From Choose Template, you can choose a template based on list type.
By clicking on this field a popup box will come up with screenshot then you can select any template out of the box.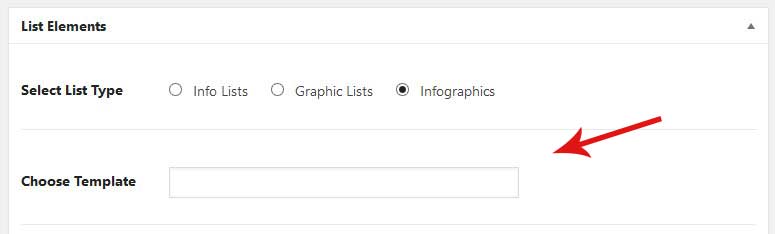
- From List Holder Color you can set a background color for your list holder.
- From List Holder Background Image you can set a background Image for your list holder.
-
From Entry Number Color you can change list number color.

- You can set a background color for every single list from Entry Background Color. This color can be change in hover effect if you set hover color from Entry Background Hover Color.
- From Entry Title color title color can be set and hover color can be set from Entry Title Hover Color
- From Entry Description color you can change Description color and hover color can be set from Entry Description Hover Color

- By Selecting title font from Select Title Font title font will be changed and you can set title font size from Select Title Font Size.
For Description font you can select font from Select Description Font.
If you want to use another google font, just copy and past the url in Other Google Font URL.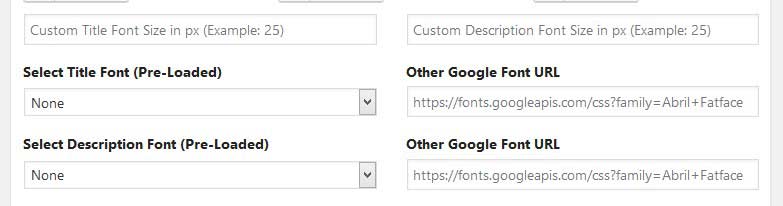
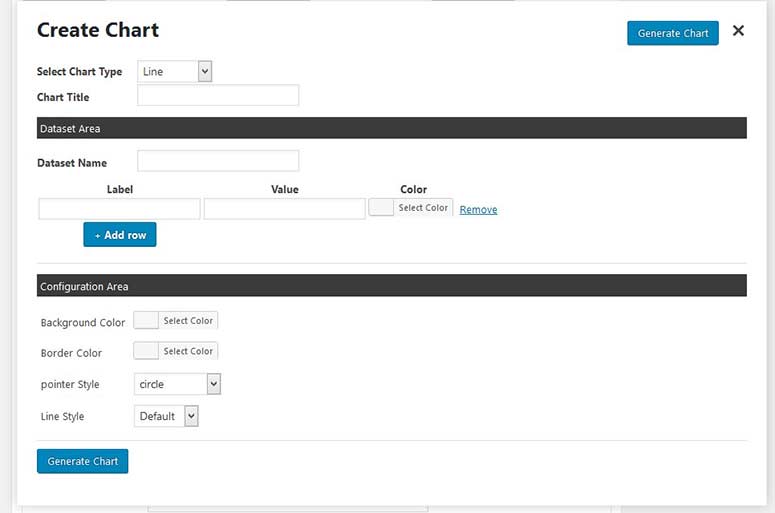
- You can add chart into your ilist by clicking on Create iList Chart field.
A popup box will come up with necessary field required for creating a chart.
Fill the form with your chart data and hit the Generate Chart button.
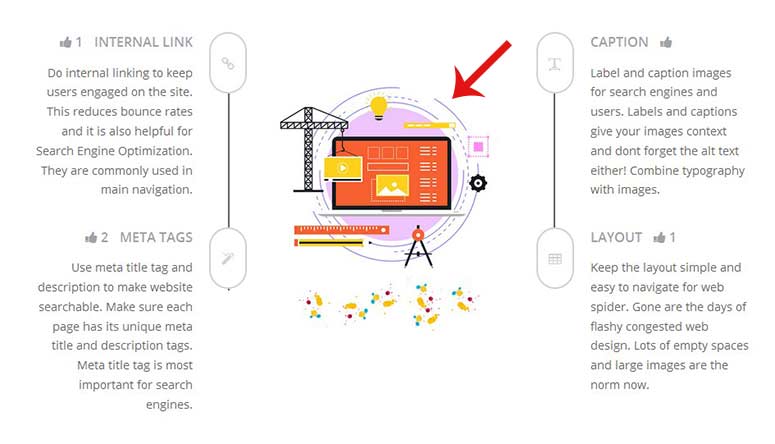
- Many of our templates support middle image. You can select middle image from List Middle Image
Middle Image will show like below.
-
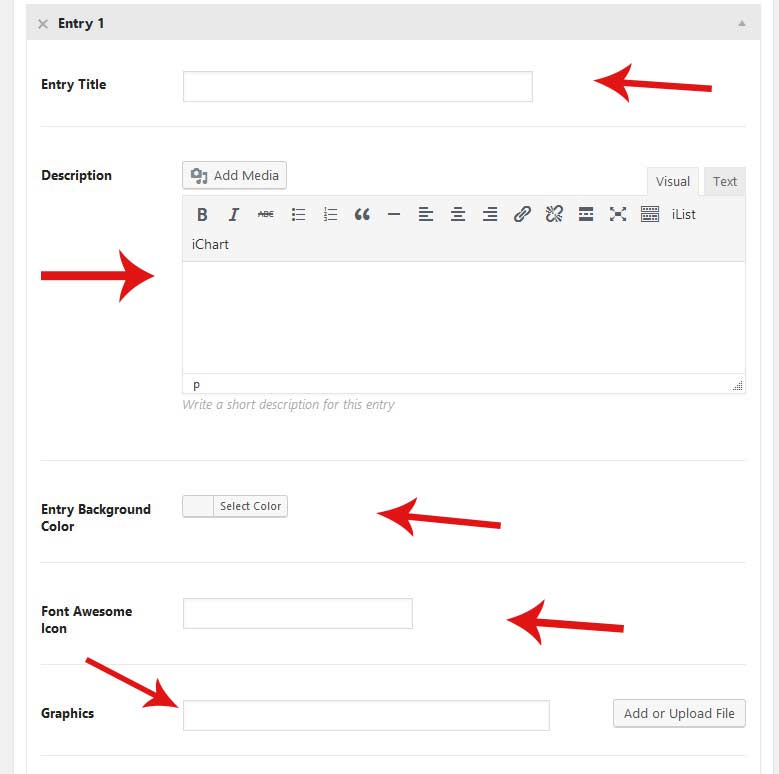
Give your list's Title, Description, Entry Background color, fontawesome icon & Title icon as you need.
You can add fontawesome icon instead of graphic icon by clicking on Font Awesome Icon field.
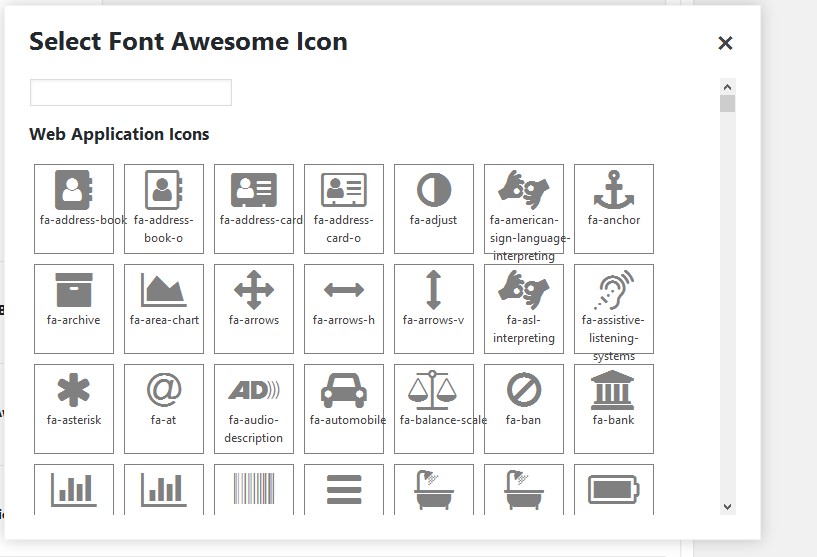
-
Add as much items as required by clicking on Add Another Entry button repeate
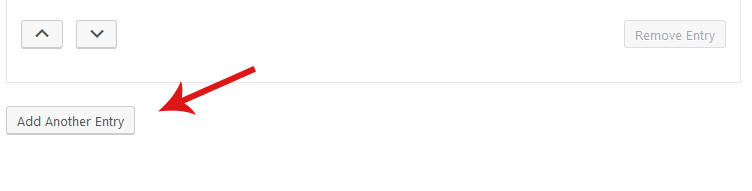
- When you are done, then click on Publish button to save and publish your list.
Update an Existing iList
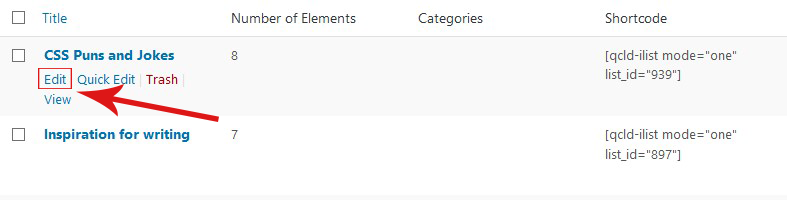
- Go to 'Dashboard' --> 'iList Pro' --> "Manage iList Items"
-
Choose a list you want to modify and then click on EDIT (hover on list title to get the EDIT button)
- In EDIT screen, change/tune list contents and configurations as you like
- Finally click on "Update" button to execute your changes.
You can also EDIT you ilist categories from the same screen.
When you will be editing your list item or creating a new one - you will get the category items to pick from the right column.
Note: For details about settings and adjustments please visit our Settings section.
HOW TO DISPLAY ILIST
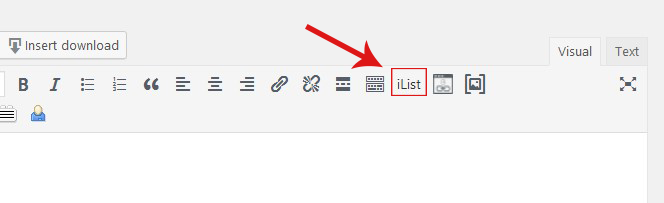
To display the iLists in your post/page, you need to use shortcode.
You can use iList button [in your TinyMCE] editor to pick the shortcode with default parameters. Or, you can use/copy shortcode example from below.
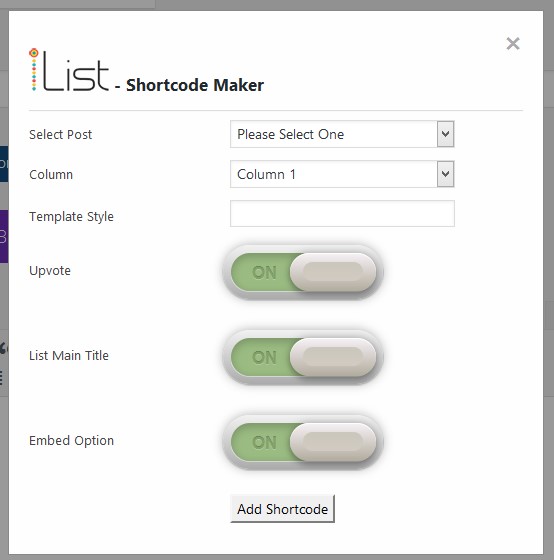
Shortcode Example
[qcld-ilist mode="one" list_id="75"]
Available Parameters:
1. mode
Value for this option can be set as "one" or "all".
2. column
Avaialble values: "1", "2", "3", "4"
6. list_id
You can provide specific ilist id here as a value. You can also get ready shortcode for a single list under "Manage List Items" menu.
9. upvote
Values: on or off. This options allows upvoting of your ilist items.
Example: upvote="on"
9. List Main Title
Values: on or off. This options allows Show & Hide of your ilist Main Title.
Example: main_title="on"
SETTINGS
You can access settings page from - "Dashboard' --> 'iList Pro' --> "Settings"
Settings options are self expanatory as their titles. Available settings options are as below:
Enable Embed List Button
If you turn this option ON, then a new button "GENERATE EMBED CODE" will be added at the top of your list. Site visitors can click this button to generate and copy embed code to use in other sites.
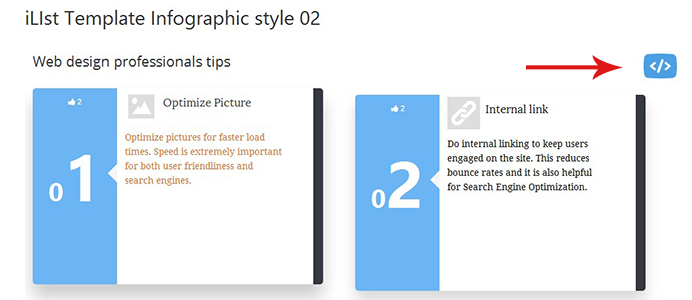
Generated iFrame code can be inserted in any other website or HTML page to display the same list with same functions. Embedded list contents will be served from your website.
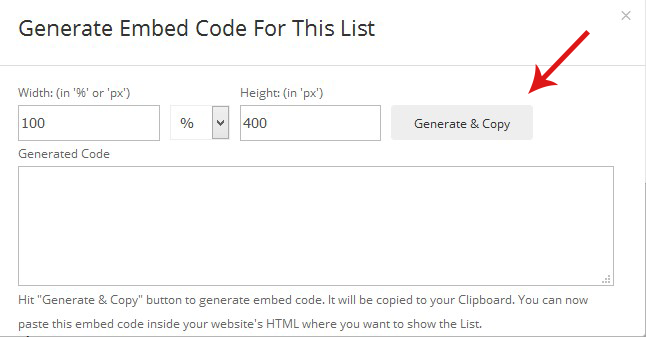
Note: If you generate embed code from a site that has HTTP protocol, may not work properly if you paste and use that code in other site that runs on HTTPS protocol, and vice versa.
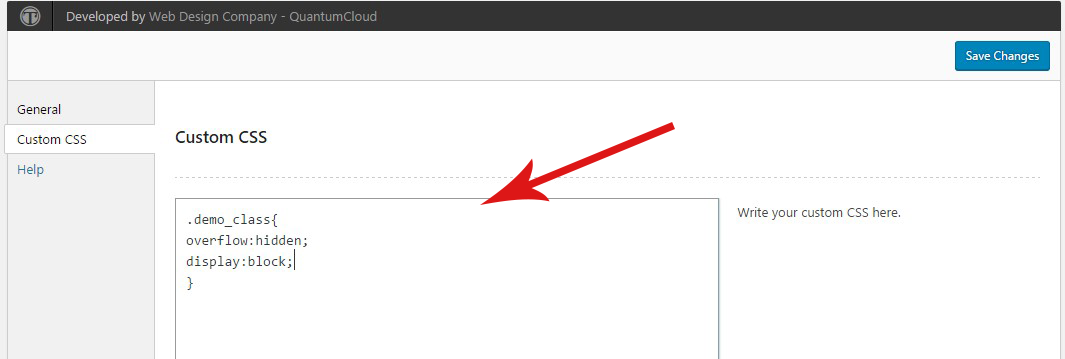
Custom CSS
You can write your own CSS style here to add/override existing templates stylesheets.
TEMPLATE STYLES
Fully responsive and innovative templates. Couple of examples:

SUPPORT
To get instant support, you can email us at: quantumcloud@gmail.com
Any feedback or feature requests are most welcome. We will try to incorporate your valuable suggestions with our item.